
If you’re looking for how to create an adjustable ring, you already know why you want it. The trouble is the how. If you’re like me, you’ve looked at several tutorials, and just ended up confused. Maybe you follow along once, and it works. But remembering how to do it later without the tutorial? Not so easy.
Then one day, someone said “It’s just a slip knot”. I’m thinking “really? Can it be that simple?” So I checked it out by… well… making a loose slip knot. The thing I did remember from the tutorials is that you have to make a chain stitch right away to keep it from falling apart. So…
It’s just a loose slip knot followed immediately by a chain stitch.
If you’re comfortable with slip knots, that may be all you need to know. If you’re not comfortable with slip knots, here’s a nice tutorial. I’ve set the link to the second technique shown in the video because that’s how I do it, so it’s what you’ll see in the pictures I’m about to show. But you can use a different technique if it’s easier for you. Same idea applies.
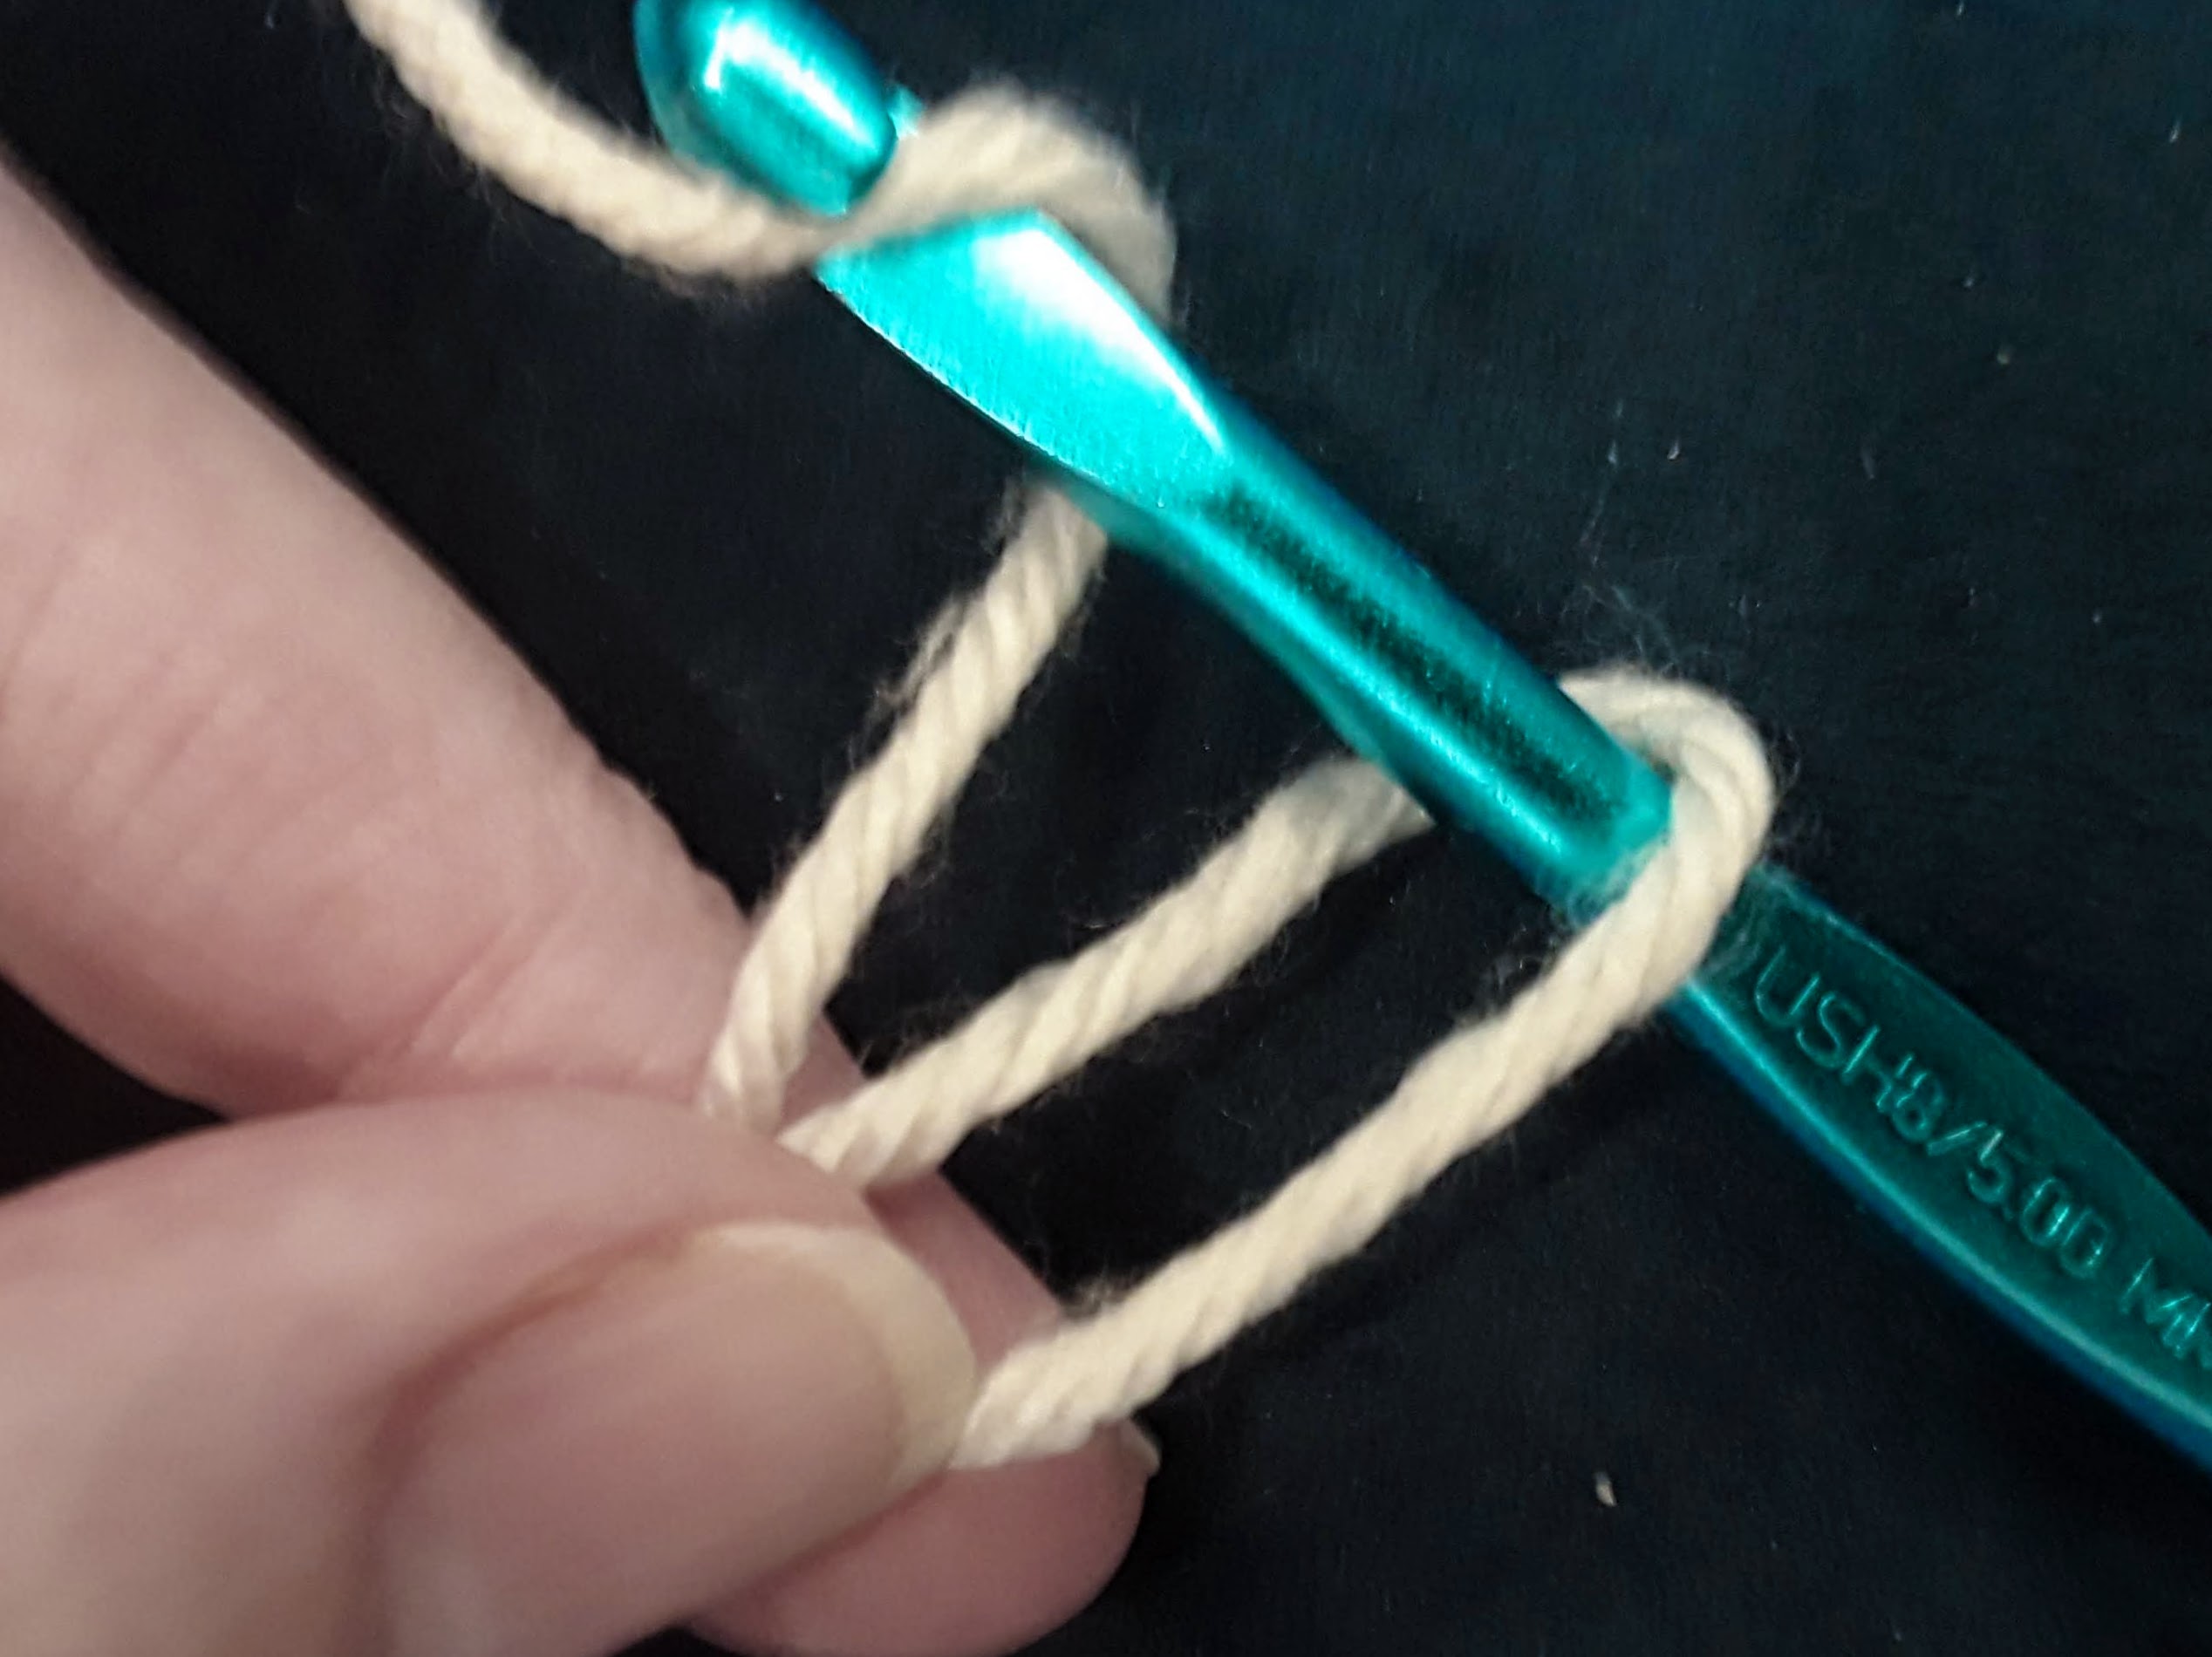
with a big loop
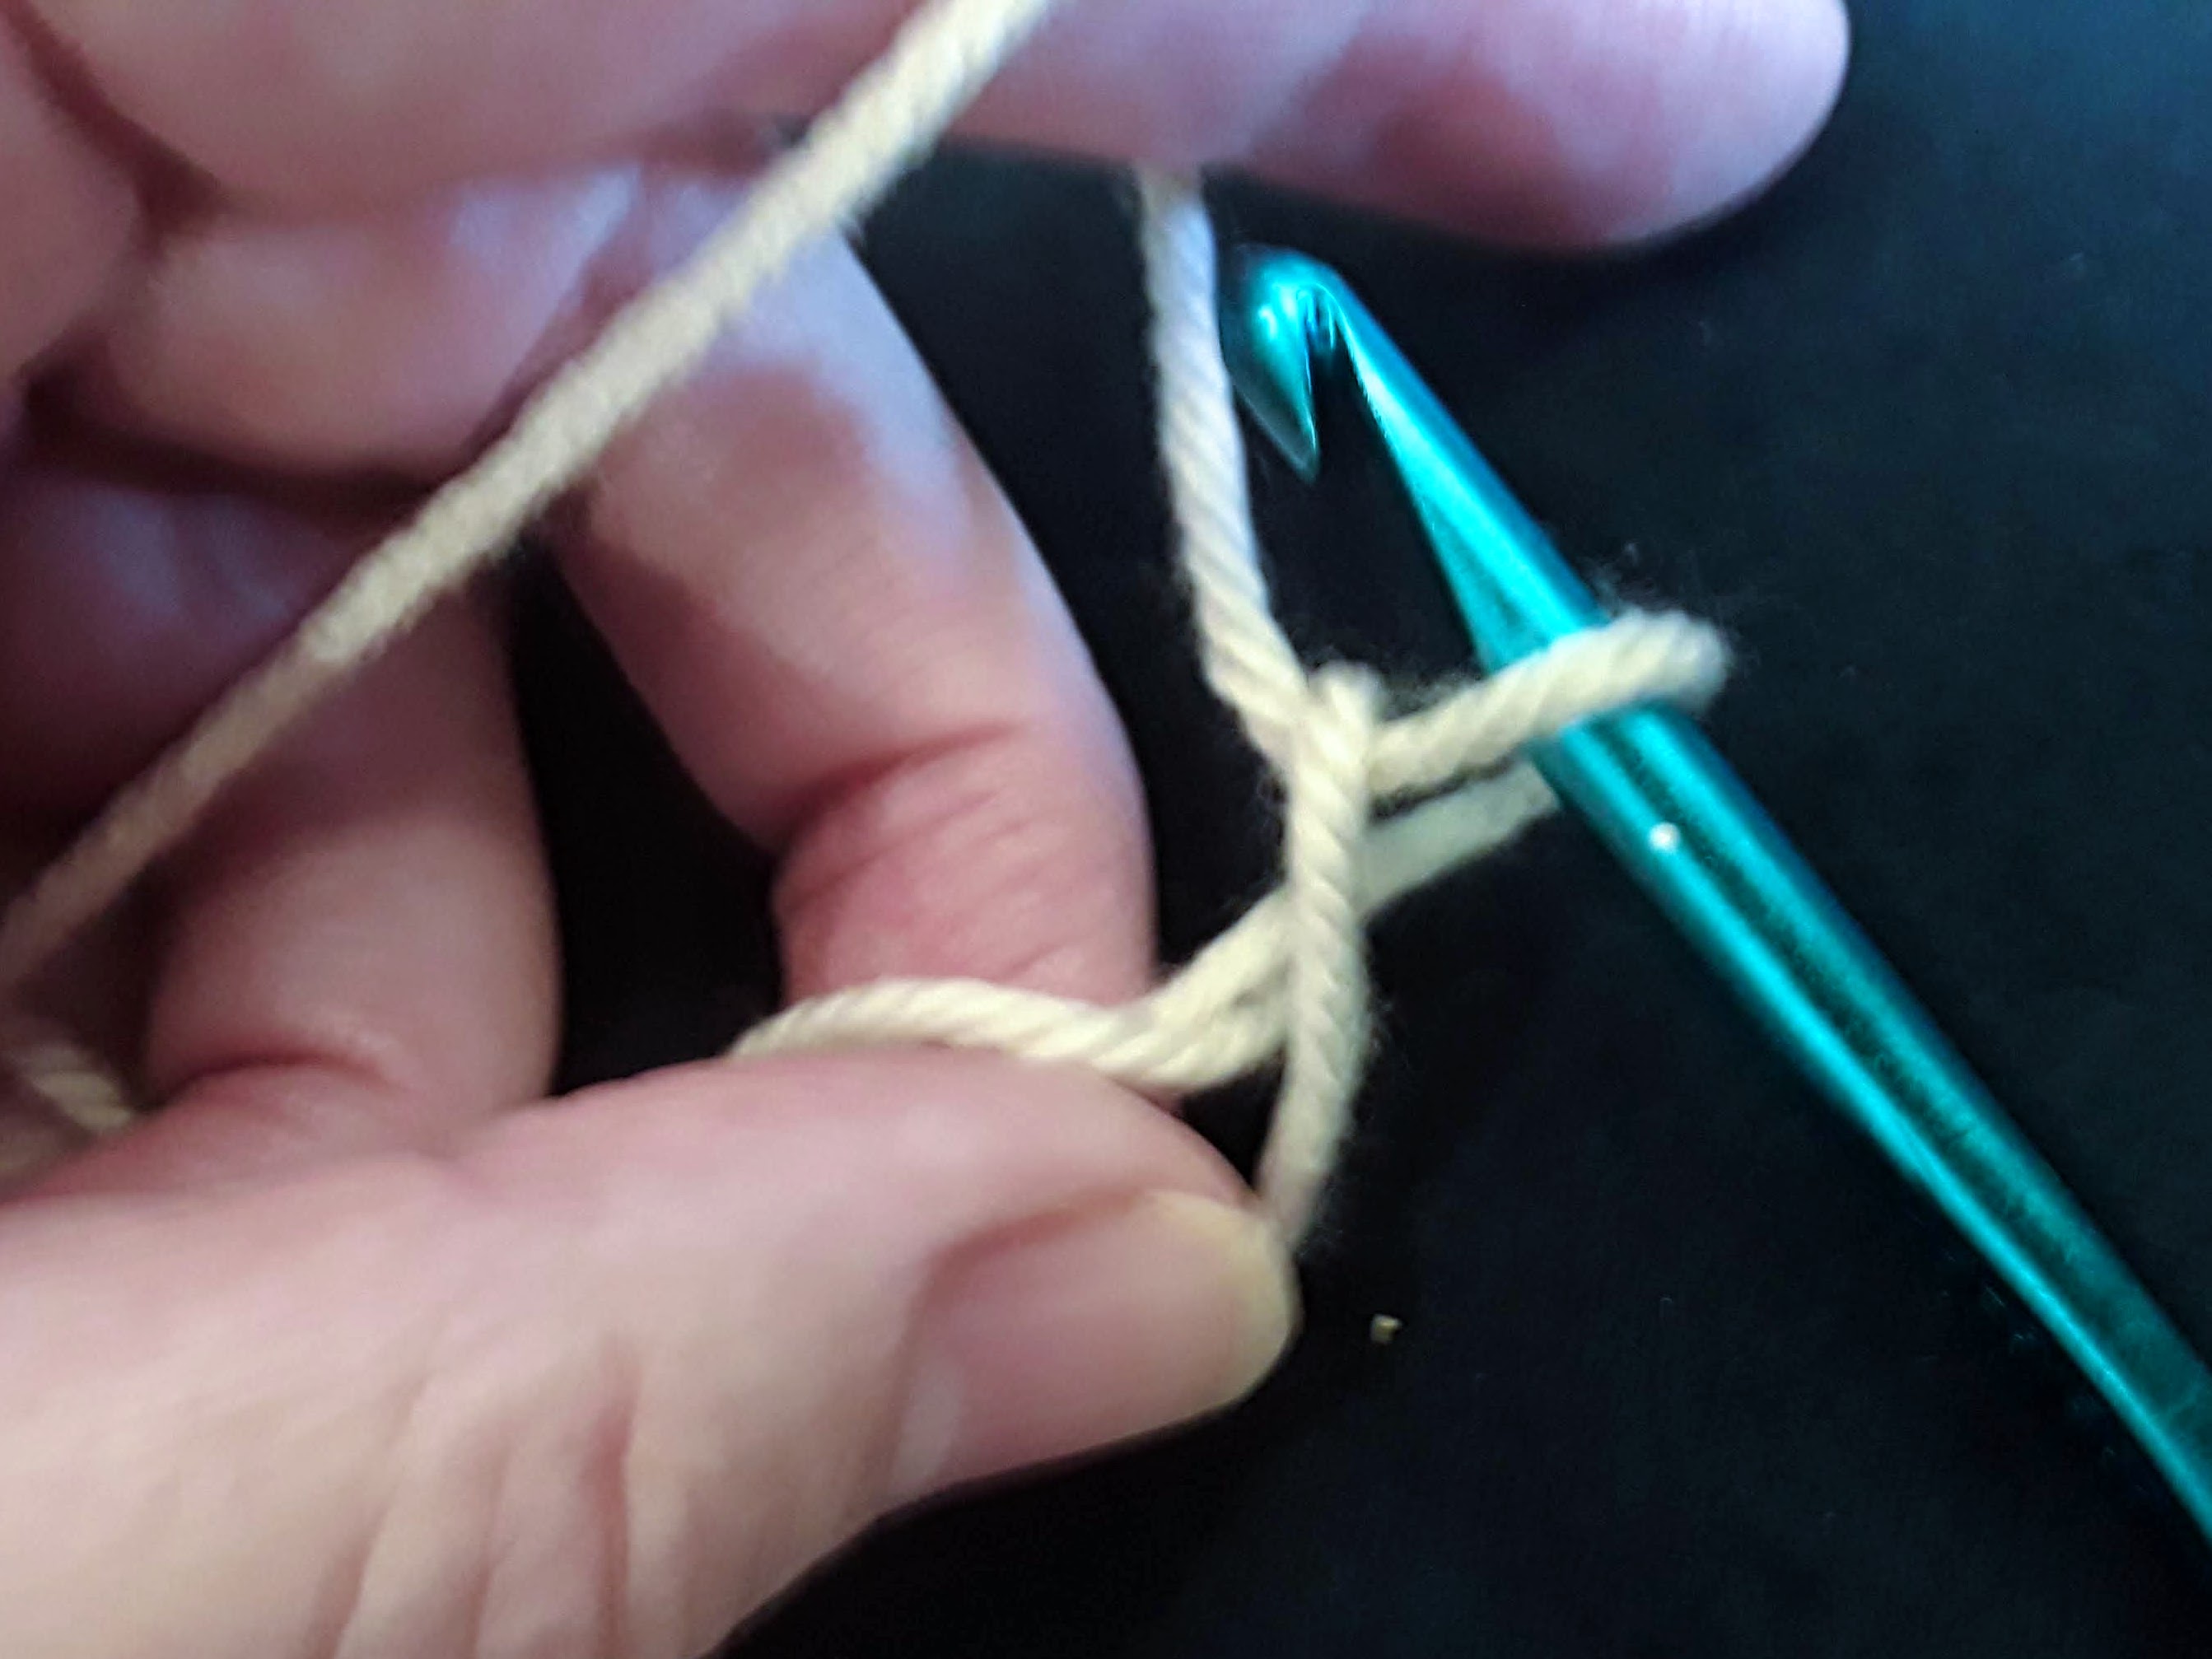
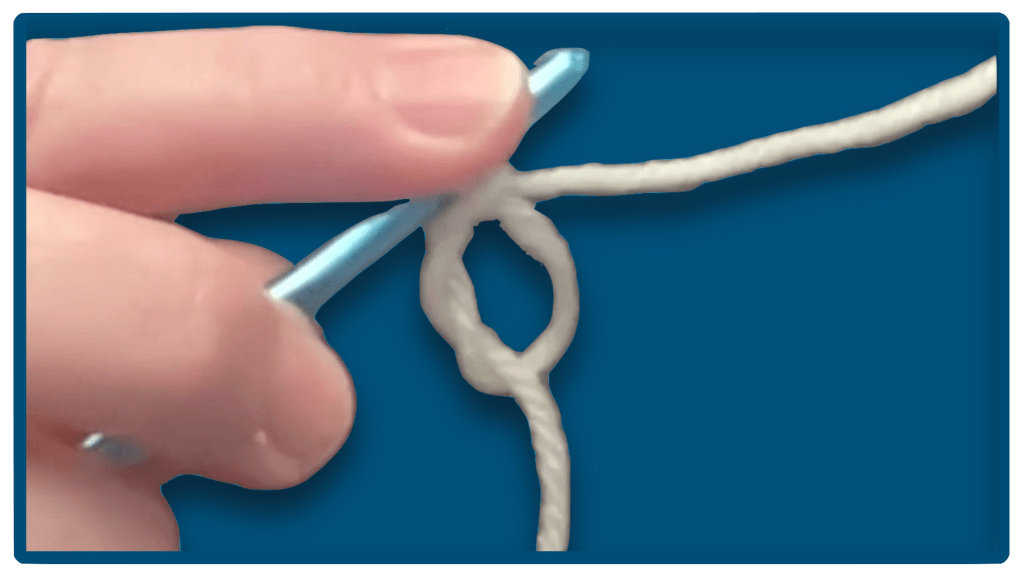
pull-through
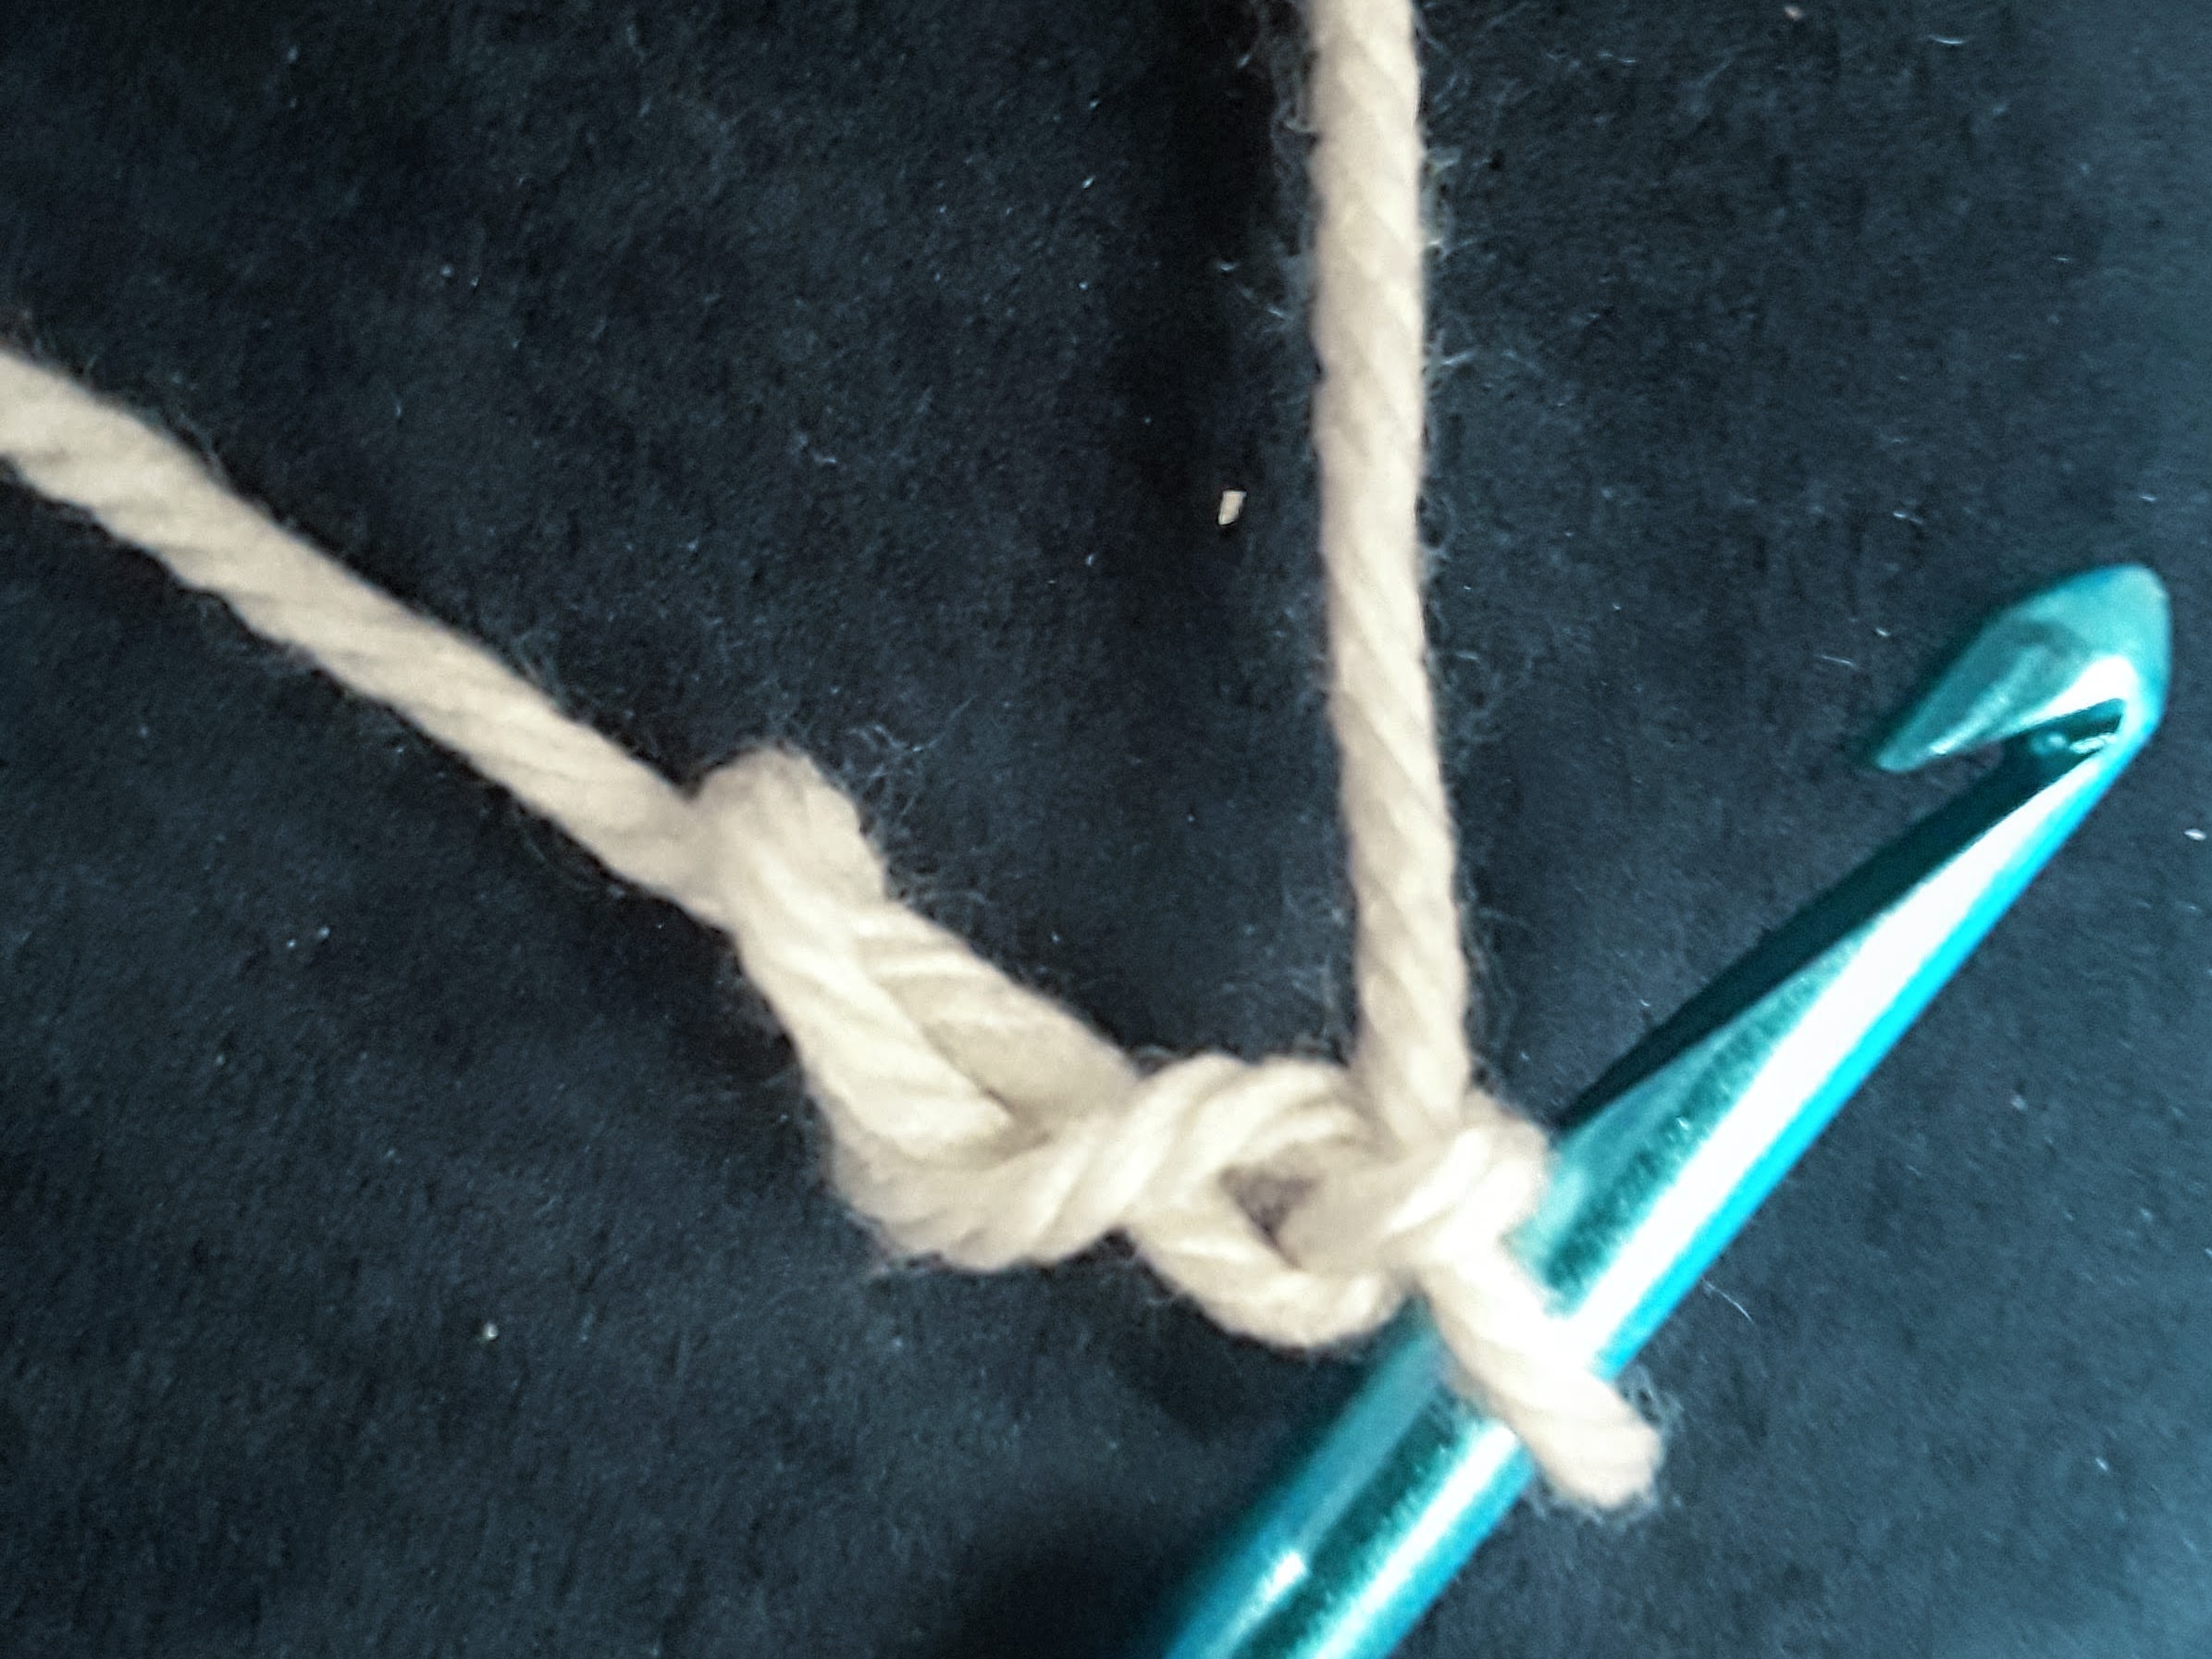
made
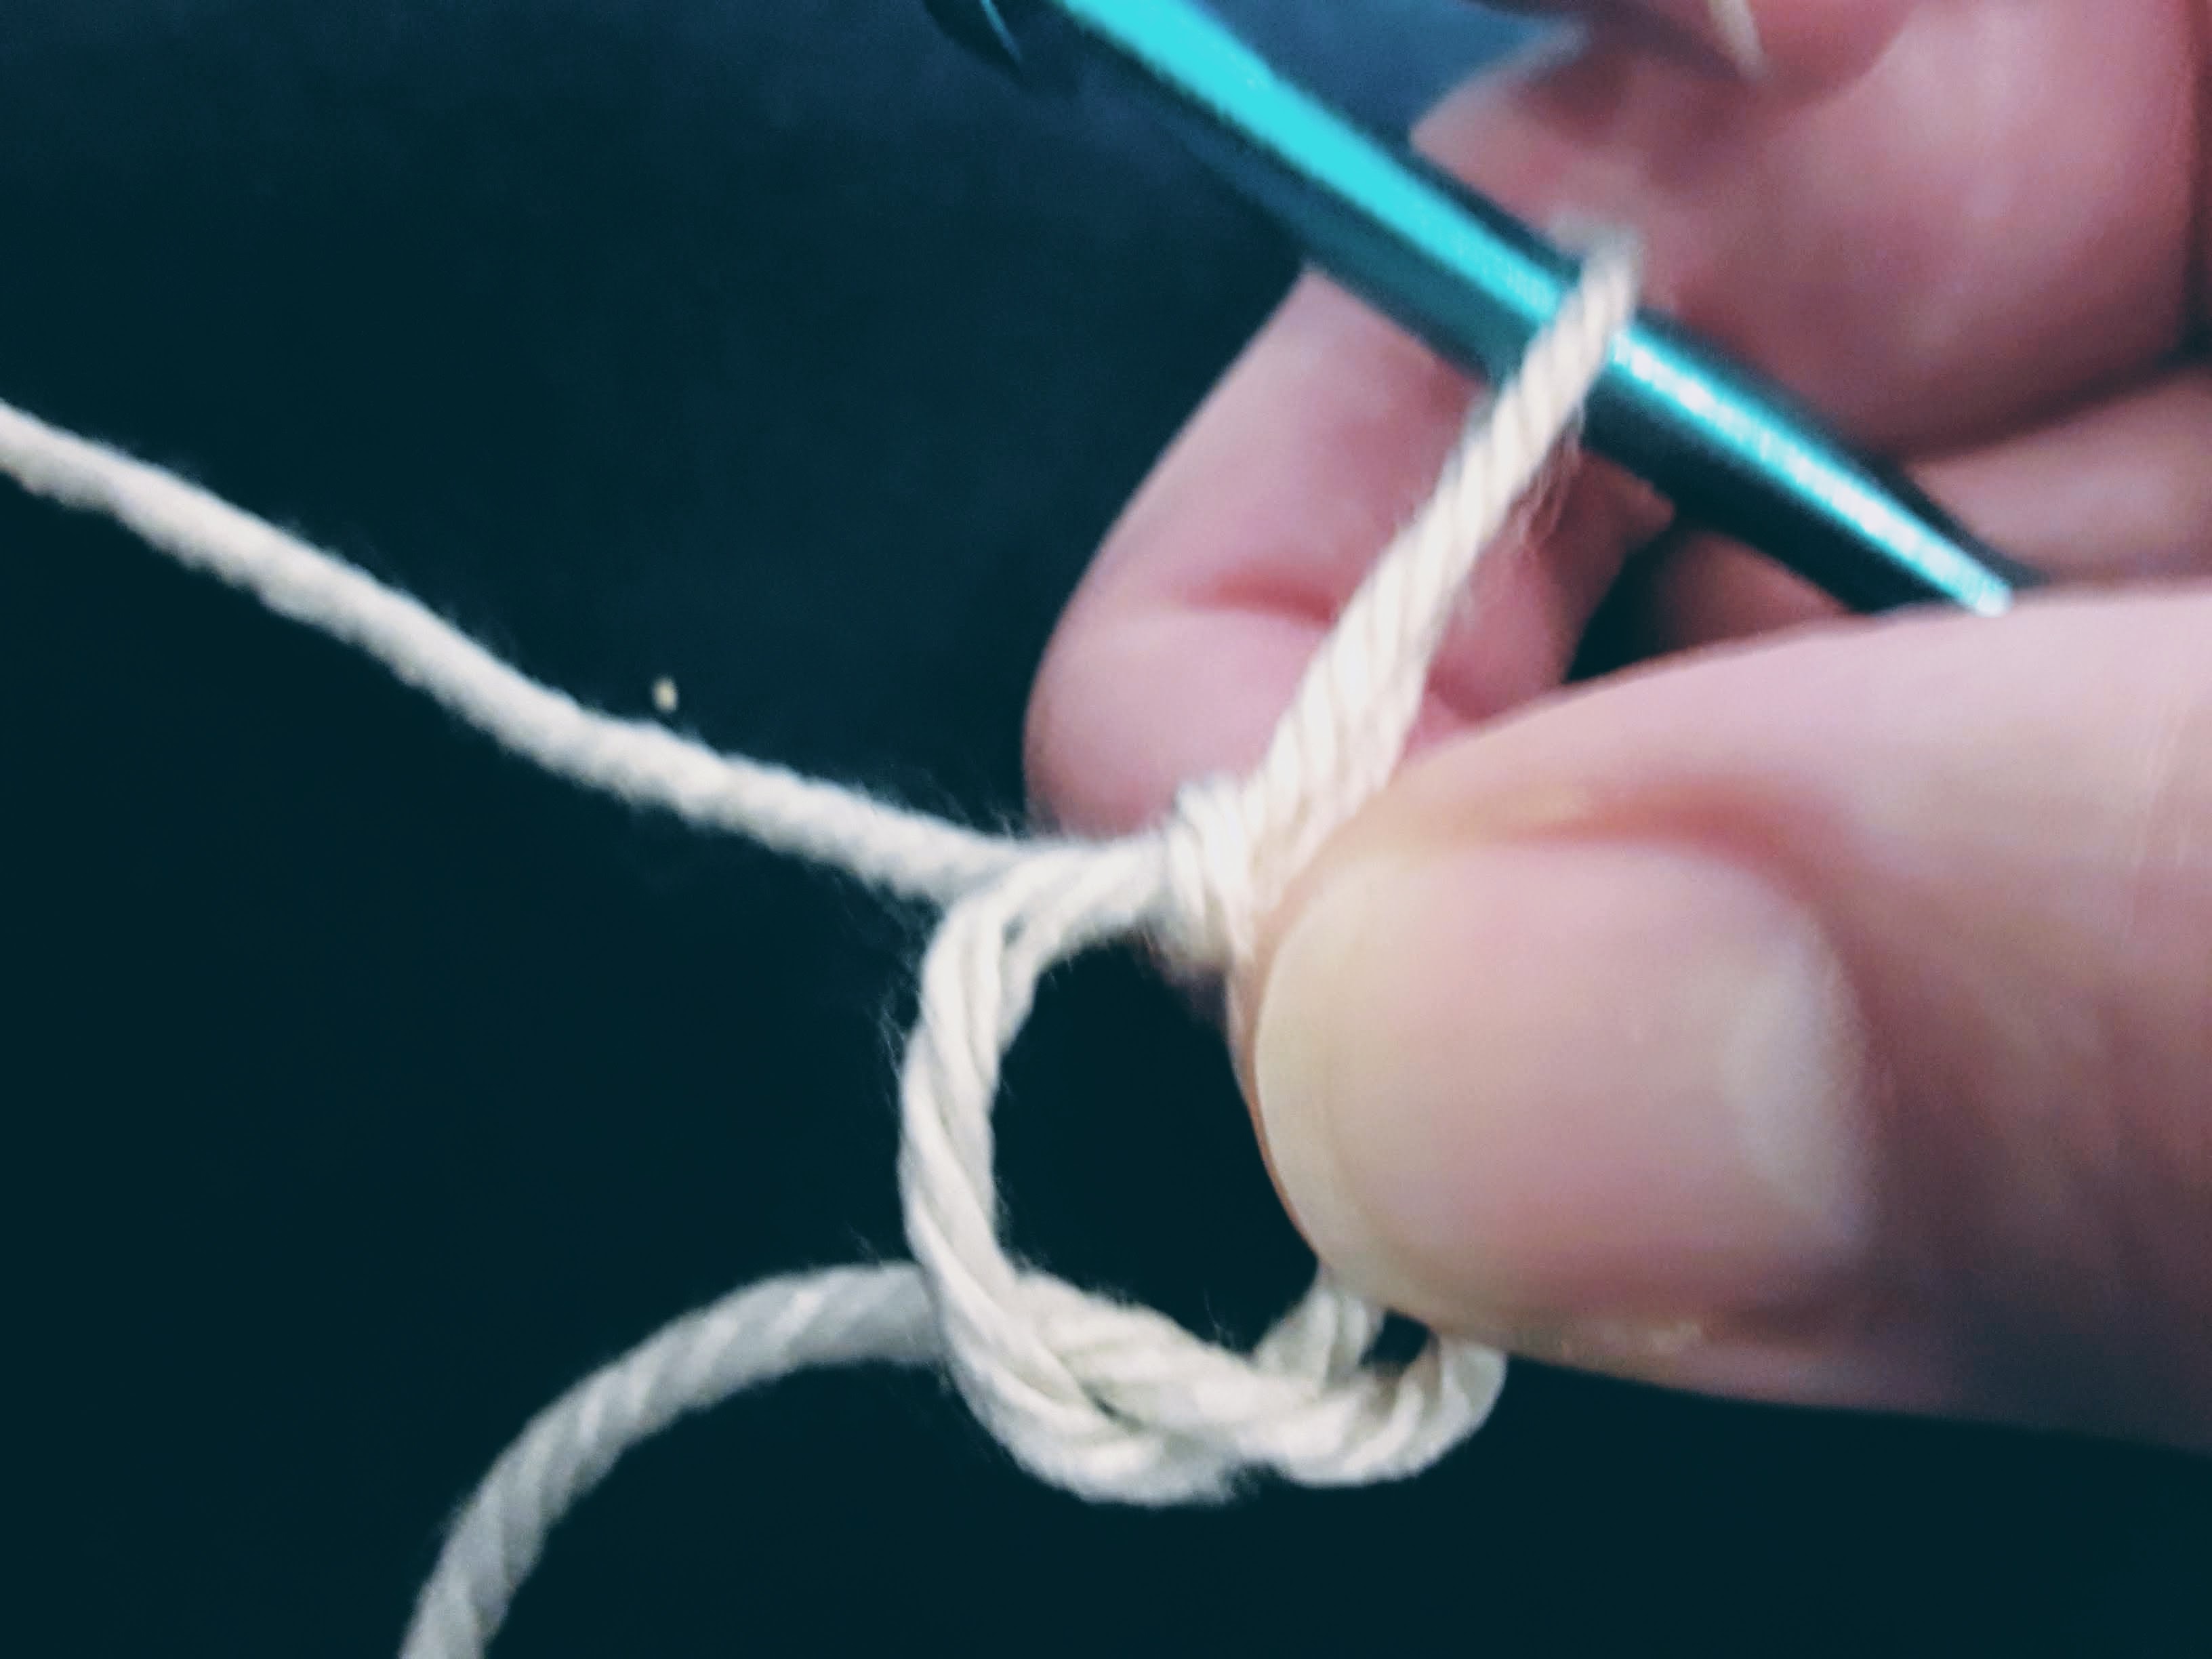
open.
The loop in that last picture is what you crochet your stitches into.
If none of that helped you, I get it. Pictures like that mean nothing to me (which makes it hard for me to take meaningful pictures.) I have made a video that might be a bit more helpful. It’s terrible quality, but as long as it gets the point across, I’m happy.


Leave a comment