
Ten years(ish) ago, I bought a really lovely bedding set, which came with shams for euro pillows. In… 2 years, maybe? The comforter and shams got so badly snagged, I just threw them away. It turns out I don’t actually like to sleep under comforters, so why bother with it?
Now the husband and I just have a nice sheet set with a very good thermal blanket on top. Sometimes, if it’s really cold, we put an additional top sheet over (guess what?) the top (how did you know?) Warm as toast.
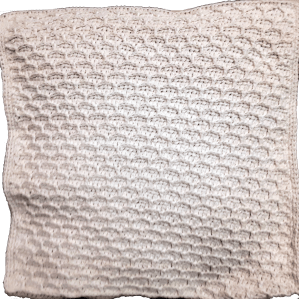
Anywho… I’ve kept the pillows, and made a couple attempts at finding whitish shams that worked with the thermal blanket for a nicely made bed. No luck finding anything I actually liked. Eventually, (great news!) I came across a pattern for a clever honeycomb stitch. Looks like a bit of yarn eater (as are all my favorite stitches), and I thought it would be perfect for my pillows.
As it turns out (drum roll please) the stitch is absolutely perfect. And not quite as yarn-eating as I expected. In fact, it’s so perfect that I bought nicer pillows for the new covers. Yuh-huh, I got new pillows for the covers I made because I needed something to put on pillows I already had. And finally, after however many years, threw away the pillows I originally made the covers for. Life is so weird. (You’re thinking it’s me that’s weird? OK. I’ll accept that.)
Here comes the part where I tell you how I made the pillows. I wanted cotton, so it would be sturdy and also washable. I found some K & C yarn in the perfect color, and bought a dozen skeins, which seemed like plenty. And of course, I could always order more if it wasn’t enough.
Oops. Joanne closed, and (for the time being at least), no more K & C. But that part comes in later. After the yarn had been sitting around for about 10 months, I finally got around to starting the project.
What I did
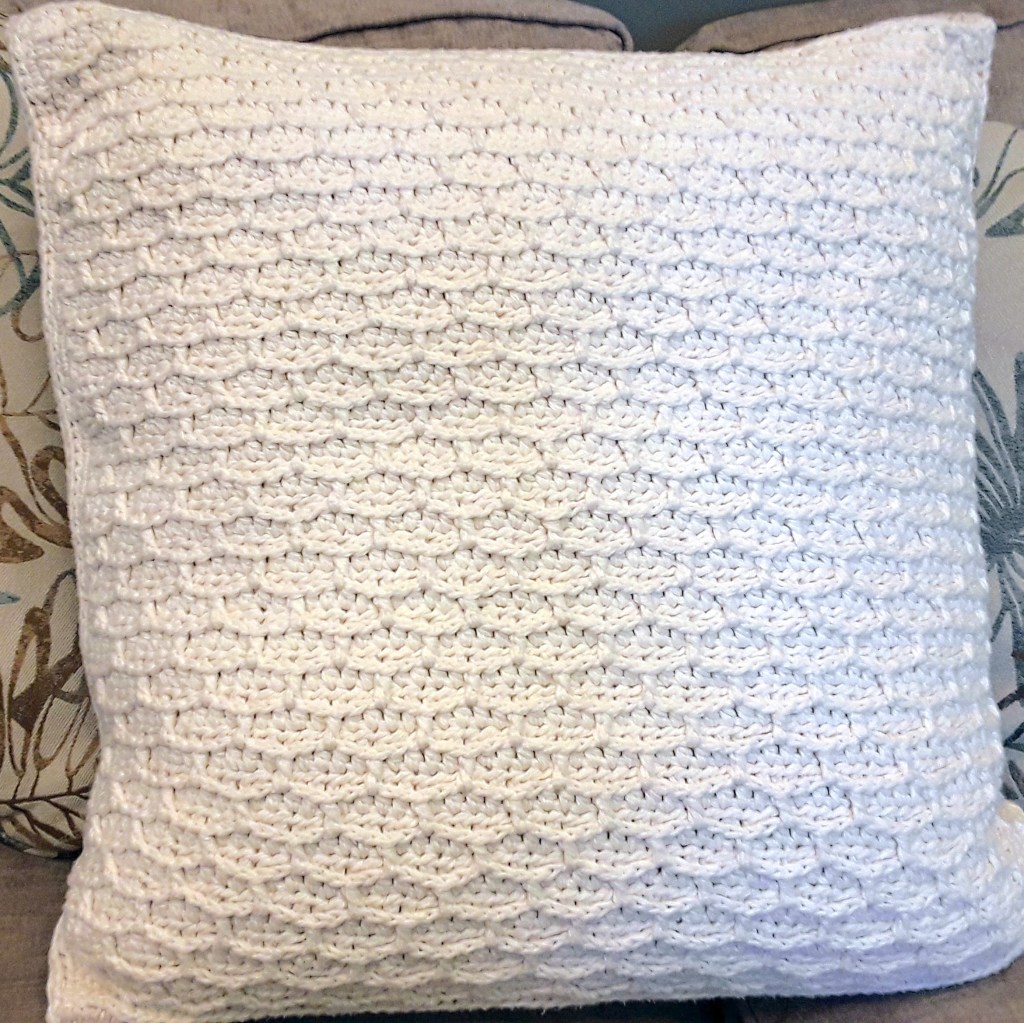
- I made the front of each pillow cover to the size of my pillow, using the clever honeycomb stitch.
- Yarn was DK weight with 2 lengths held together.
- Color: Cream (it was pretty close to white.)
- Hook: 5.0 mm
- The yarn was on the heavy side for a DK. Had it been lighter, I would have used 3 held together
- Next, I did a sc border around the front. Then sent it through the washer and dryer
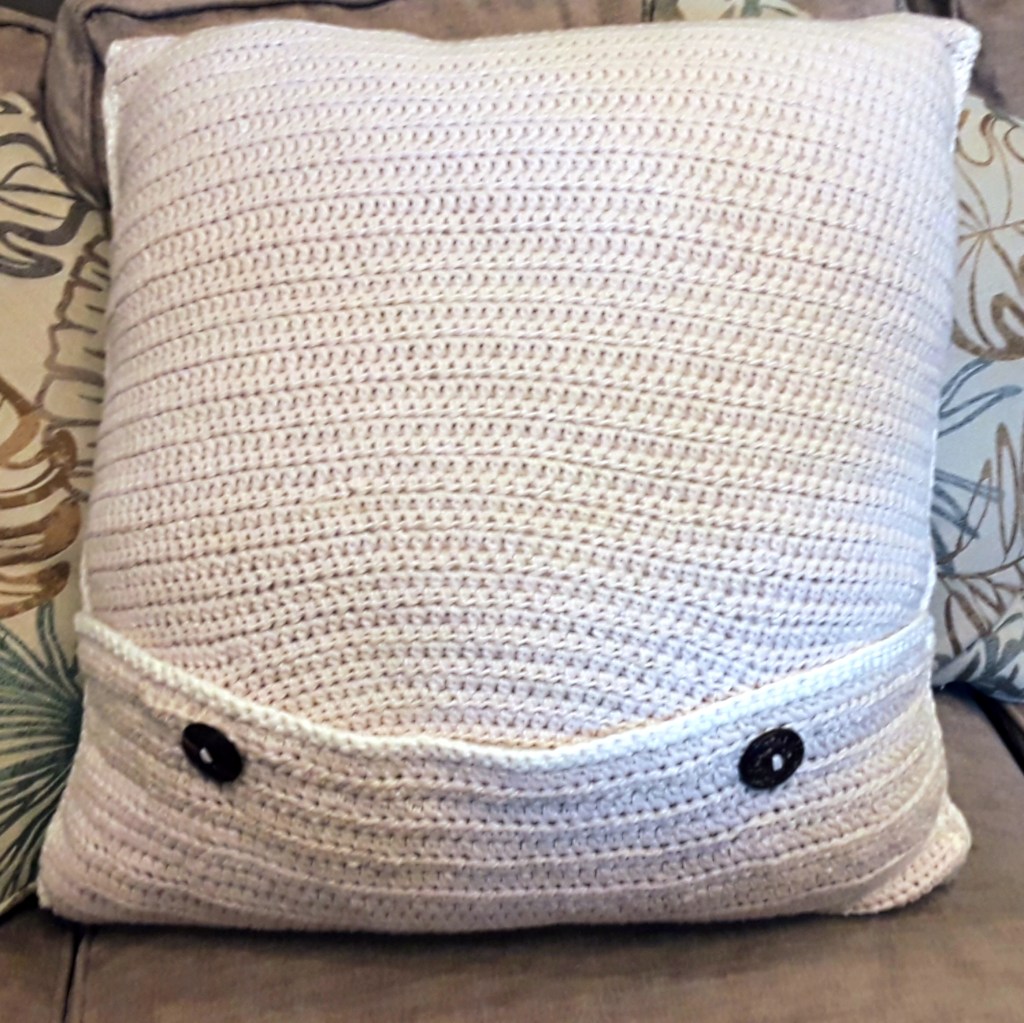
- For the back side, I continued with a color change. Why? Because Joanne closed, of course. See? I told you I’d get to that part.
- Yarn: Paintbox Cotton DK
- Color: Vanilla Cream (#408). I chose the darker color only because trying to match a color too closely never works.
- Stitch: half double crochet
- Still 2 held together, even though it turned out to be a lighter weight. Not ideal, but 3 held together was too thick compared to the front.

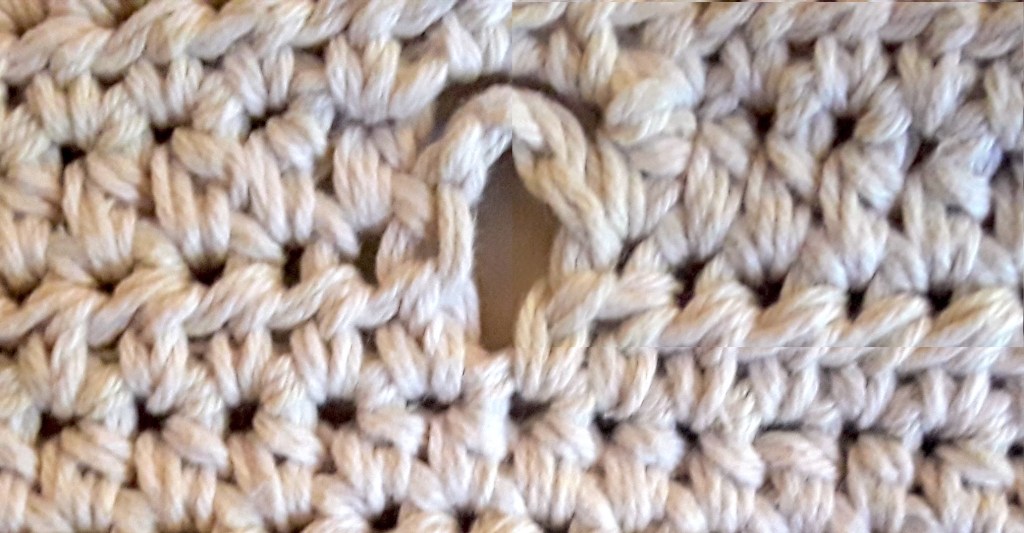
- I made buttonholes by adding 3 chain stitches (not skipping any hdcs) in the 3rd-to-last vanilla row, making 1 ch in the same place in the next row, and doing the last row all hdcs (skipping the ch).
- From the first row of the front, I joined more of the vanilla yarn, and did more rows of hdc to about 1/3 of the length of the front. This was to overlap the back, forming a pocket.
- I then washed dried, and measured. The back side needed a bit of rework to make it the right size.
- I added a row of single crochet down the sides and ends of the back, using the lighter colored yarn.

- I joined the front and back down the sides using a slip stitch join with a single length (meaning not 2 held together) of the light colored yarn. Then did a slip stitch row across the top of the front panel (where it didn’t need to be joined), so the top would look the same as the other 3 sides.
- I used the Paintbox yarn to slip stitch the sides of the pocket through the overlapping sides of the pocket to the scs edge of the front side of the pillow.
- Finally, I sewed on coconut shell buttons.


What I wish I’d done differently
- Made the overlap for the pocket a little wider
- Used a less stretchy stitch for the back. Maybe single crochet.
- Made 3 button holes instead of 2. The two buttons were fine with the thin pillow, but the fluffy pillow is straining the pocket opening. I plan to add more buttons, but they’ll have to be much smaller, so it can squeeze between the hdcs. Which means I’ll need to add several buttons, rather than just one in the middle.
Button issues aside, I’m really pleased. They look great on my bed.


Leave a comment