
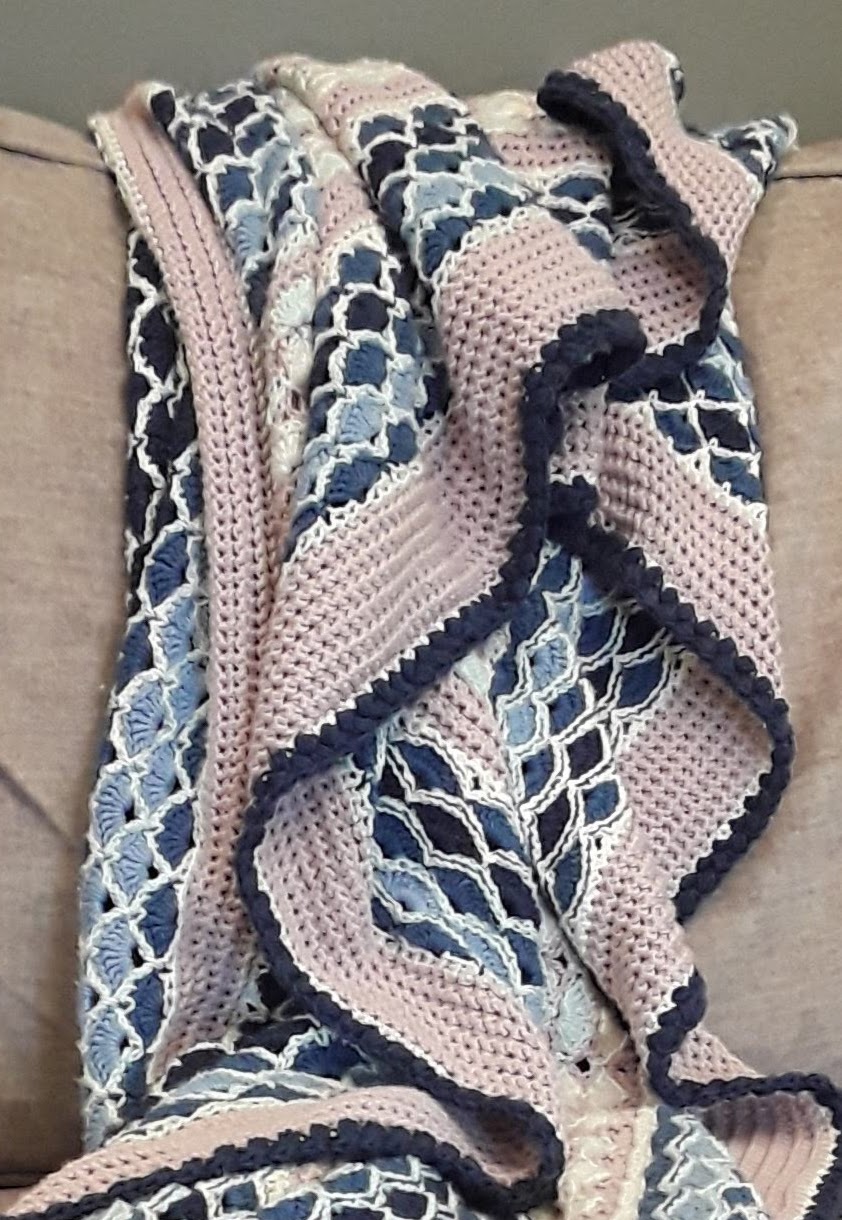
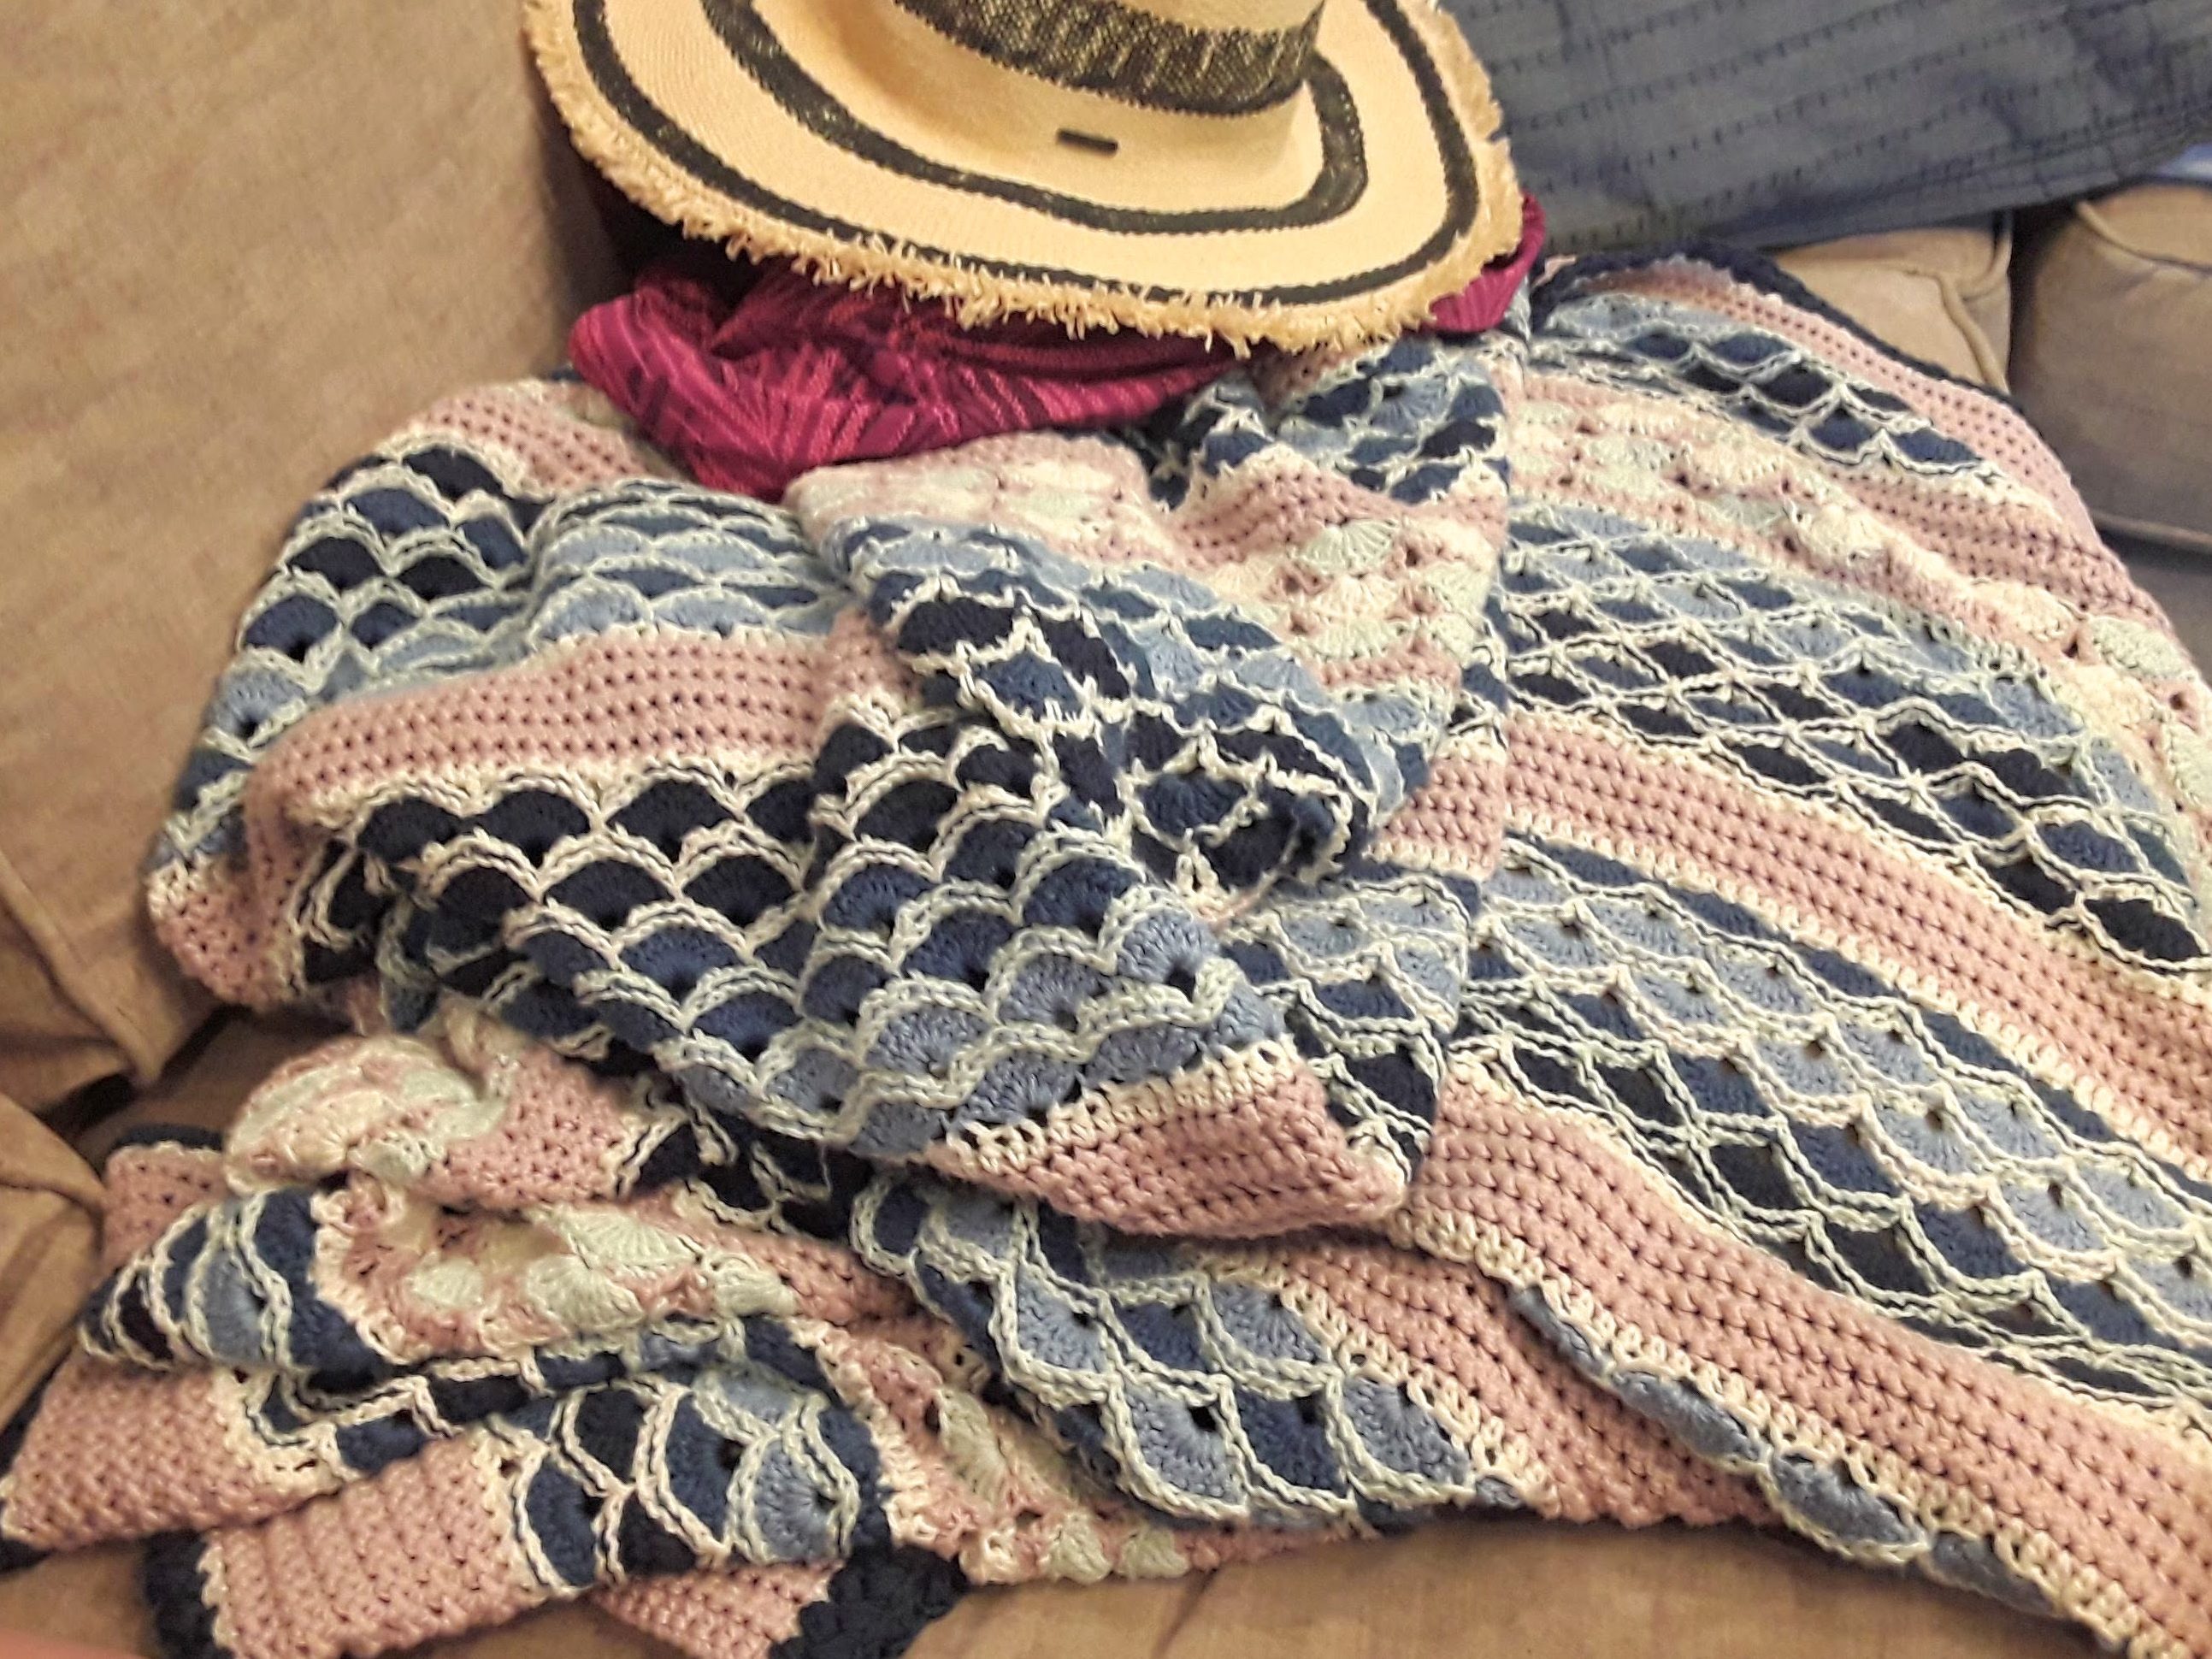
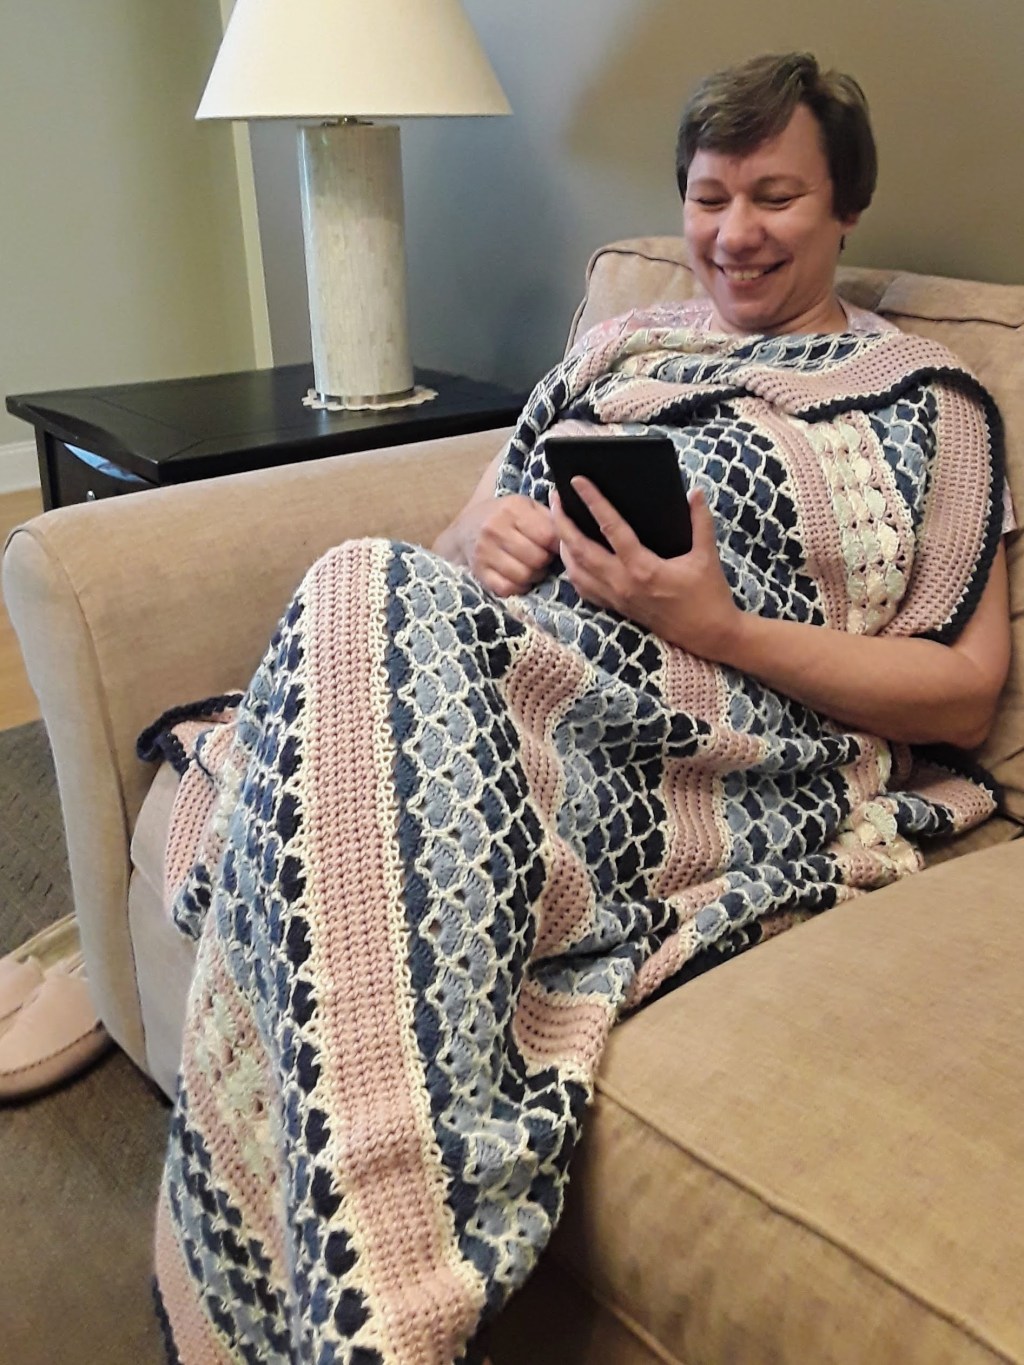
I thought this day would never come. The last stripe done. The border in order. It took longer than I expected to get the look I wanted. But it’s finally finished. And, in my not-so-humble opinion, it’s a success!
Find Part I here.

I got the idea for doing a bean stitch border while working a stripe of bean stitch in another afghan. After the first 2 rows, I looked at it and thought, “Oh, that would make a great border.” I tried it on a swatch made from the yarn I was using at the time, and it came out great. So, all good, right?
- Prepping for the border
- Choosing the border color
- Adjusting to the unfamiliar yarn: An adventure
- The Pattern!

Prepping for the border
Because the yarn I used was a bamboo/cotton blend, I put the blanket in the dryer on low heat for 10 minutes, to pre-shrink before starting the border. Scary, right? But it came out fine. Some slight pilling, but it also did tighten up just a bit, which was good. And now I can tell my sister-in-law that it can be dried on low heat.
Choosing the border color
This part was more difficult than you might think. I tried 2 colors that were awful. I asked around (well, I asked on Facebook) and everyone basically said “Any color but those!” People liked the blues, and I had to agree they were best. So I went with navy. I made it 3/4 to the end of the first bean stitch round, and thought… “Well, maybe not.” Frogged all that. Tried a couple dozen beans in each of the other blue shades. Guess what? (How did you know?) I ended up liking the navy best. I think.
Then there’s the adventure of using an unfamiliar yarn.
Since the cotton/bamboo has no bounce-back, it’s trickier to get the tension right for the bean stitch. It took a lot of trial and error (for real — hundreds and hundreds of stitches frogged). But in the end, it came out well. I needed to tighten up the stitches of round 1, and make them closer together together than I normally would. And I had to find that sweet spot on the bean rows, with a hook size a bit small, while keeping the tension loose enough to avoid too much stress on the previous row, but still controlled. (See why I don’t recommend this yarn?)
Here’s a link to the pattern for the stripes, if you haven’t seen it yet. That page also includes a table with the abbreviations which I will use here. I’ve written these border instructions for use with the Beach House afghan. But they really could be used for any blanket if you just pretend no one said what kind of stitches you attached the first round to.
So let’s get to business… the pattern for the border!
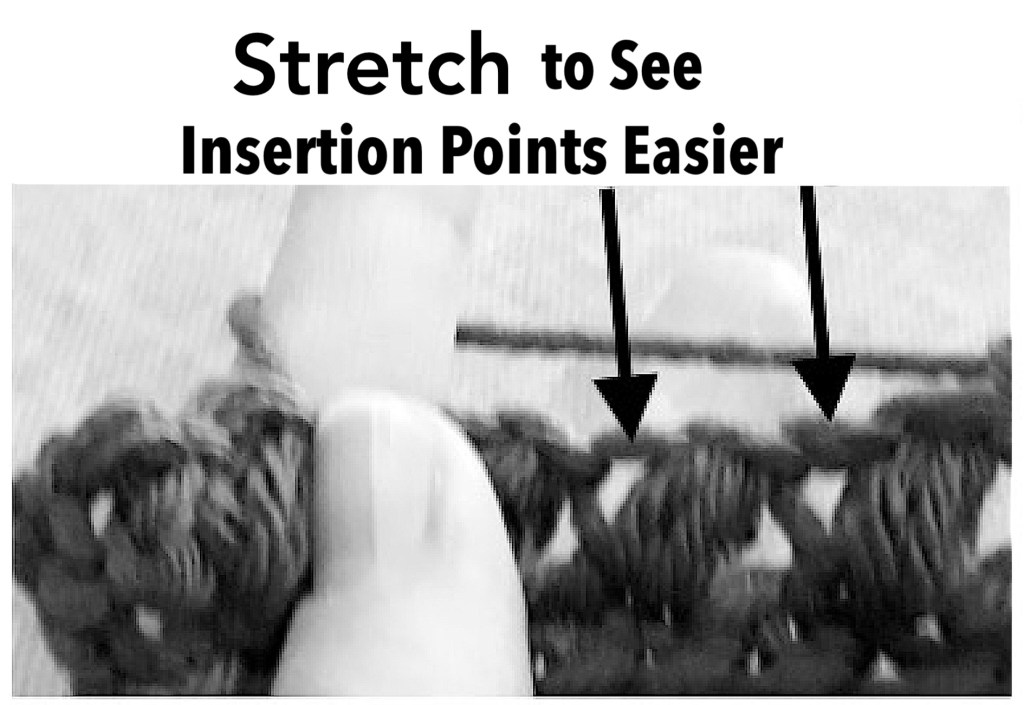
Special stitch: Bean Stitch (Bean st)
Insert hook directly into stitch indicated, yo, pull up a loop;
[yo, insert hook in same stitch, gently pull up another loop] 3 times;
yo, draw through all 8 loops on hook, close with a chain.
Beginning Bean Stitch (Beg Bean)
Insert hook directly into stitch indicated, yo, pull up a loop;
[yo, insert hook in same stitch, gently pull up another loop hook] twice;
yo, draw through all 6 loops on the hook, close with chain.
If you’re using acrylic or wool in worsted/aran weight, you may prefer to use the smaller bean stitch (the one I’ve called “Beg Bean”) all the way across.
Here’s a great how-to video for bean stitch. Note that the beans I’ve written for here using have one more yo/pull through than the video shows.
Round 1: (WS) Join your lightest color to the top right corner w sl st;
*sc in each of next 6 sc2tog, work 2 scs in next sc2tog*;
repeat between *’s to next corner, [sc, ch1, sc] in corner st;
work evenly spaced scs down the side; [sc, ch1, sc] in next corner;
*sc in each of next 6 sc2tog, work 2 scs in next sc2tog*;
repeat between *’s to corner; [sc, ch1, sc] in corner;
work evenly spaced scs up the side; sc in last corner st;
ch1, join w sl st to first st of round, finish off.
A good rule of thumb for working down the sides is to work 1 sc for each sc2tog row, 2 scs in the side of each dc, 1 sc in the side of each sc and hdc. Err on the side of too many stitches, rather than too few.
Round 2: (WS) Join your border color w sl st in the ch sp of a corner (but not the one where round 1 was joined);
ch2, work Beg Bean in same ch sp, *sk next sc, Bean st in next sc*;
repeat between *’s to next corner;
☨work [Bean st, ch1, Bean st] into the corner ch sp;
repeat between *’s to next corner☨;
repeat between ☨’s to last corner;
work a Bean st in the corner ch sp, ch1; join w sl st in top of beg ch2, turn.
Round 3: (RS) ch2, work a Beg Bean into the ch sp just made
(between the first and last Bean st made in the previous row);
sk closing ch of next Bean st,
Bean into beg loop of Bean whose closing chain you skipped*,
repeat between *’s to next corner;
☨ [Bean st, ch1, Bean st] in corner ch sp;
repeat between *’s to next corner☨;
repeat between ☨’s to last corner;
work a Bean st in the corner ch sp, ch1;
join w sl st in top of beg ch2.

As a last step, I ran it through the 10 minute pre-shrink again. I think that actually made it look a tiny bit better. In any case, it’s ready to go. So what do you say folks? Anyone ready to come back from the beach, get dry, and snuggle up?


Leave a comment