
Did you think that was impossible? It’s not. You can do it!
In a previous post, I wrote about my experience removing a stripe from the bottom of a crochet afghan. I was fortunate that time that the stitches I wanted to add at the bottom looked pretty much the same right-side up as up-side down. But if they weren’t? You could make a new stripe and sew it on. Easy-peasy.
Well, yesterday I decided I just couldn’t stand part of stripe from the middle of my afghan. Actually, I hated it before yesterday — it’s just that I’d done several color changes and it felt like too much to undo. Yesterday was just the day it bugged me so much that I decided to test out removing stitches from the middle.

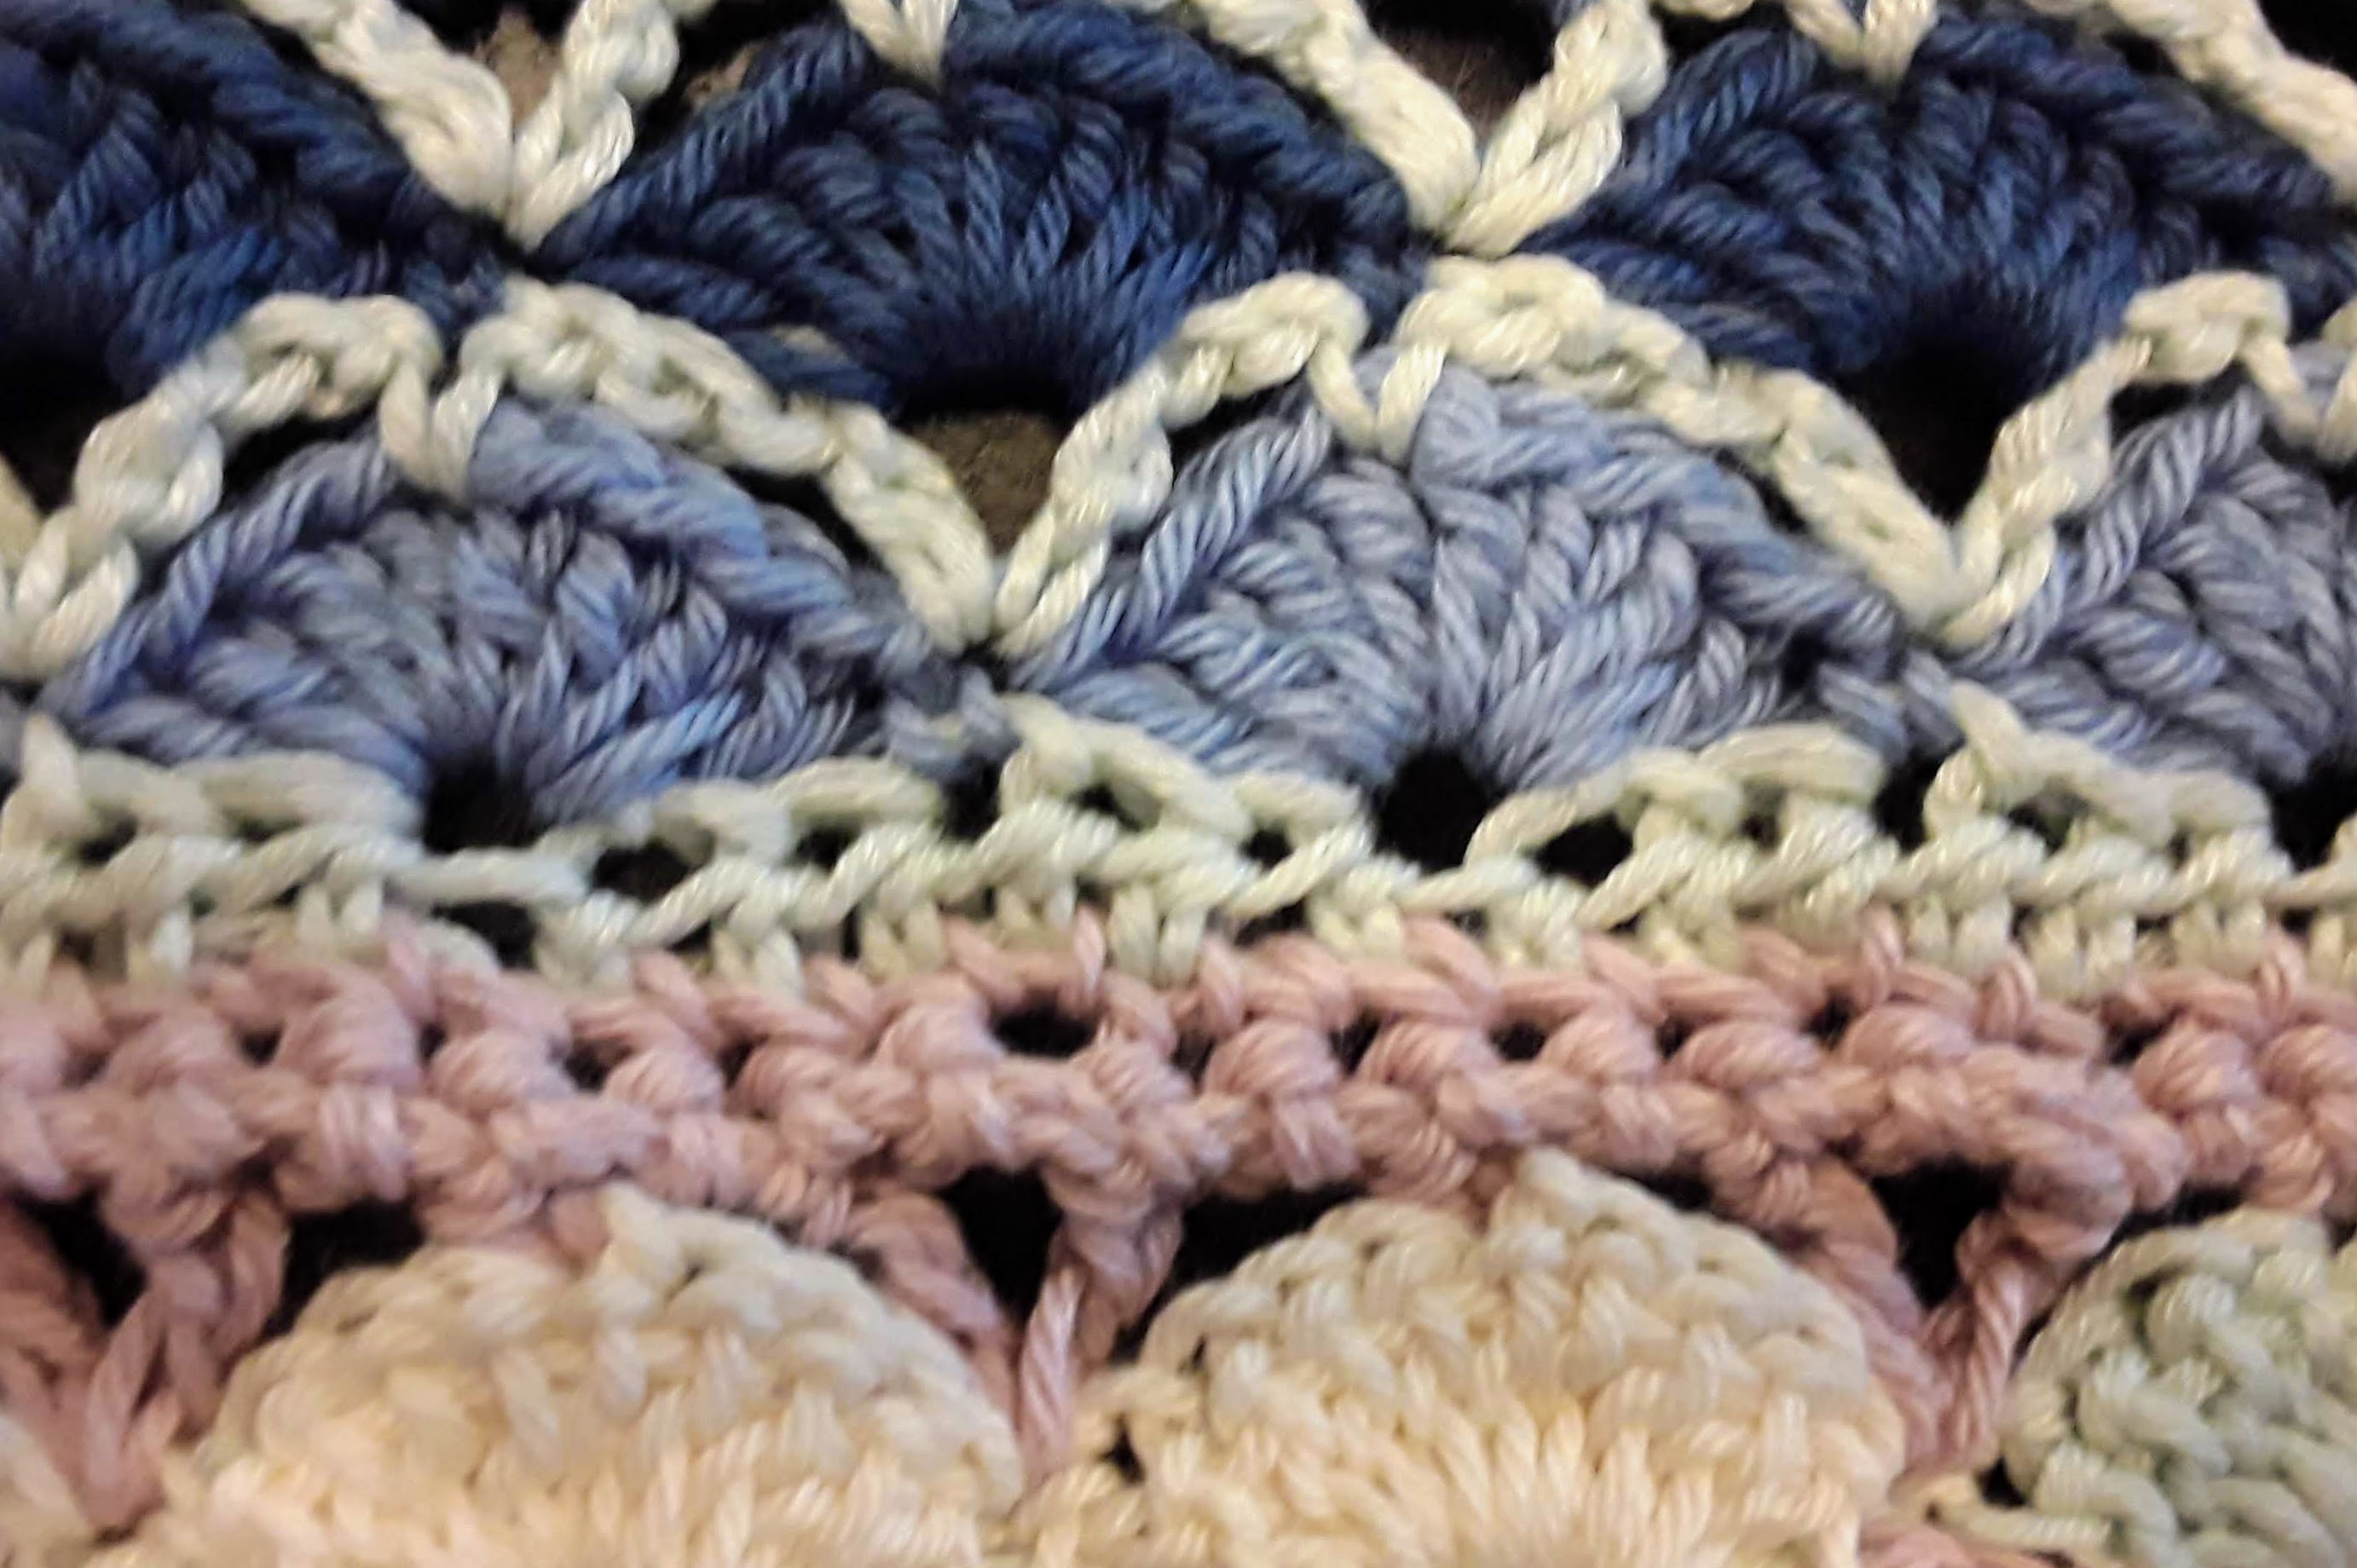
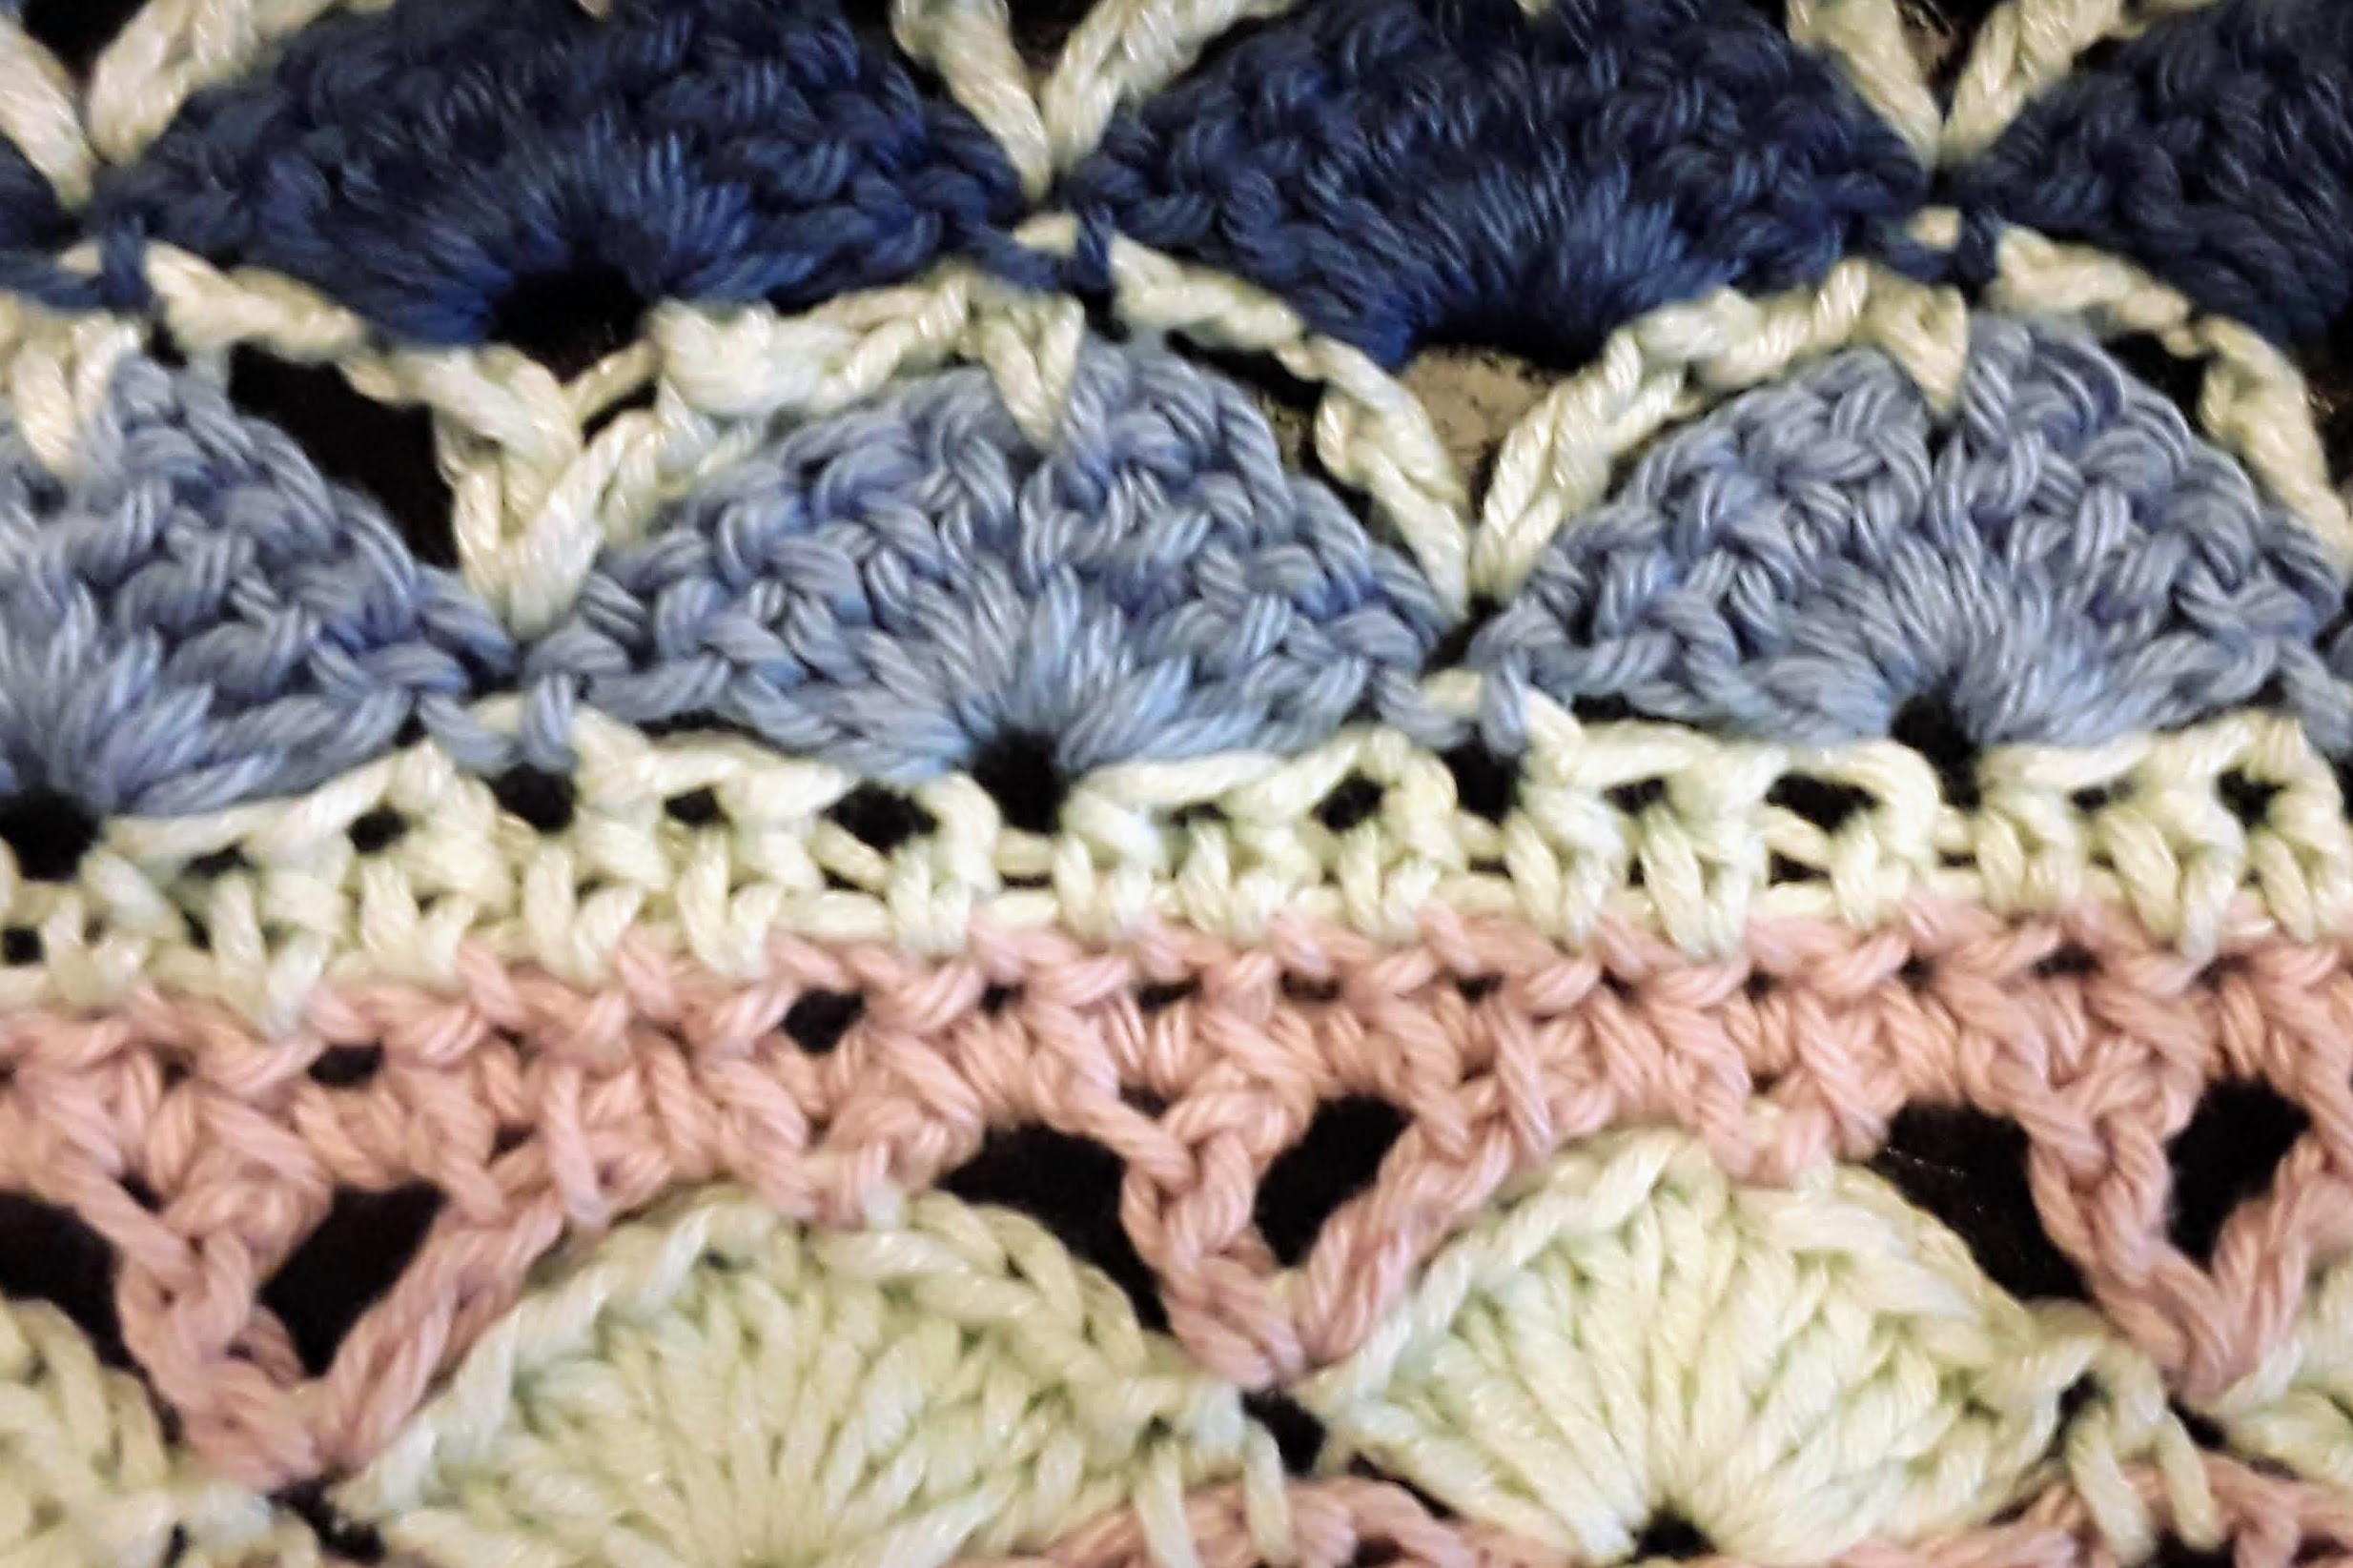
In case you wondered, it’s the top 2 rows above the light colored shells I didn’t like. Because reasons.
It was clear enough that this would require threading a piece of yarn through the legs of some stitches and removing the 2 rows below. Just like frogging from the bottom. Once that was done, I just needed to sew a much bigger bottom to the top piece. Which (surprise!) turned out to be a bit harder than I expected.
Sewing Stripes To a Frogged Bottom.
I’m not gonna lie — my first couple attempts to re-attach the bottom didn’t go well. But I eventually found a method that worked just fine. So let’s begin!
1. Line up the pieces and mark your stitches.
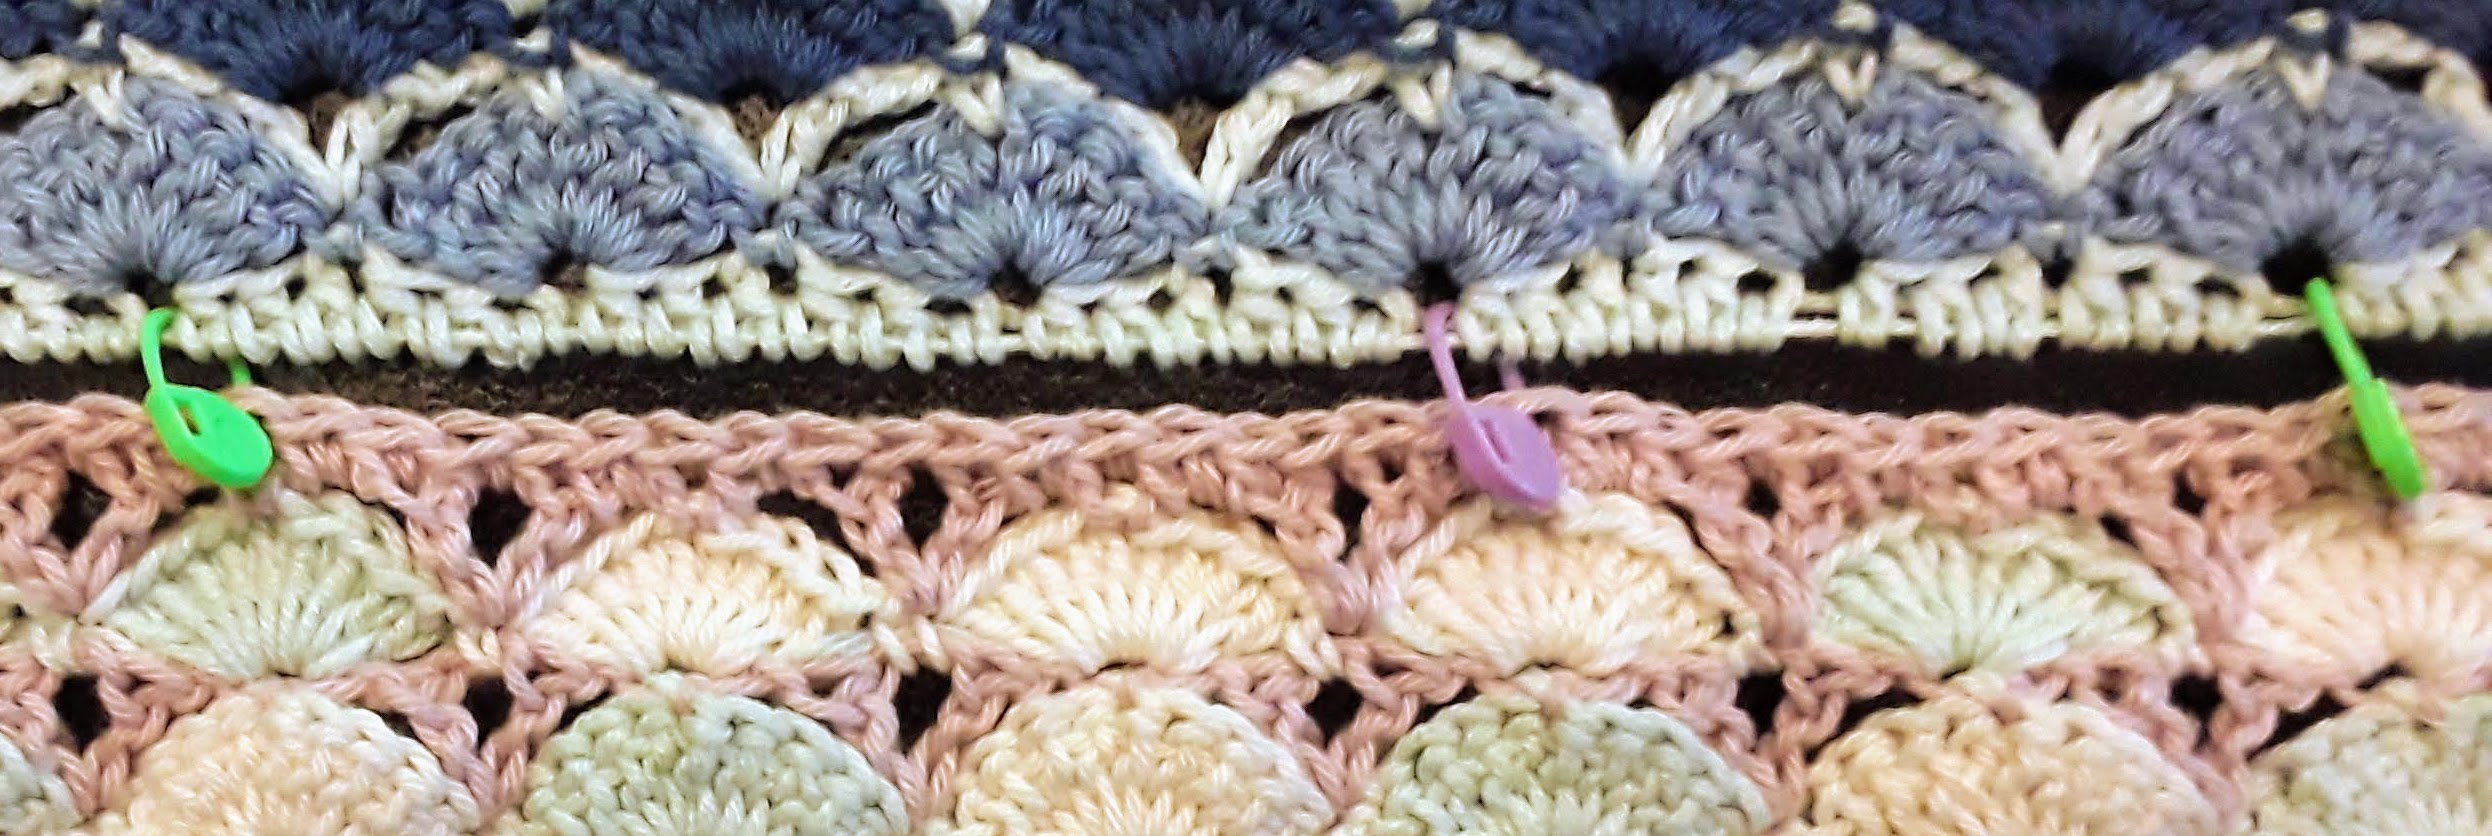
This is might be unnecessary for a scarf, but for an afghan, I promise you’ll be sorry if you skip this step. First, make sure you have Right Sides facing the same way. Then (most importantly) make sure repeats of both parts match up properly. Aside from helping you track what you’re doing, the stitch markers keep the weight of that long length of separate pieces from pulling too hard on the already-stitched-together part.
2. Prep to sew
Thread a long piece of yarn in the color of the lower (bottom) section through a yarn needle. Secure the yarn at one end. Being right-handed, I started at the right-most end. I worked from the WS of the piece, although the best approach for that may be different depending on what kind of stitches you use (and what you consider the R/W sides to be.)
2. Connect a stitch from the lower piece to the threaded yarn.
Note that I turned my work upside-down to sew, so the “lower” section (which means the lower part of the finished work), is shown above the “upper” section.
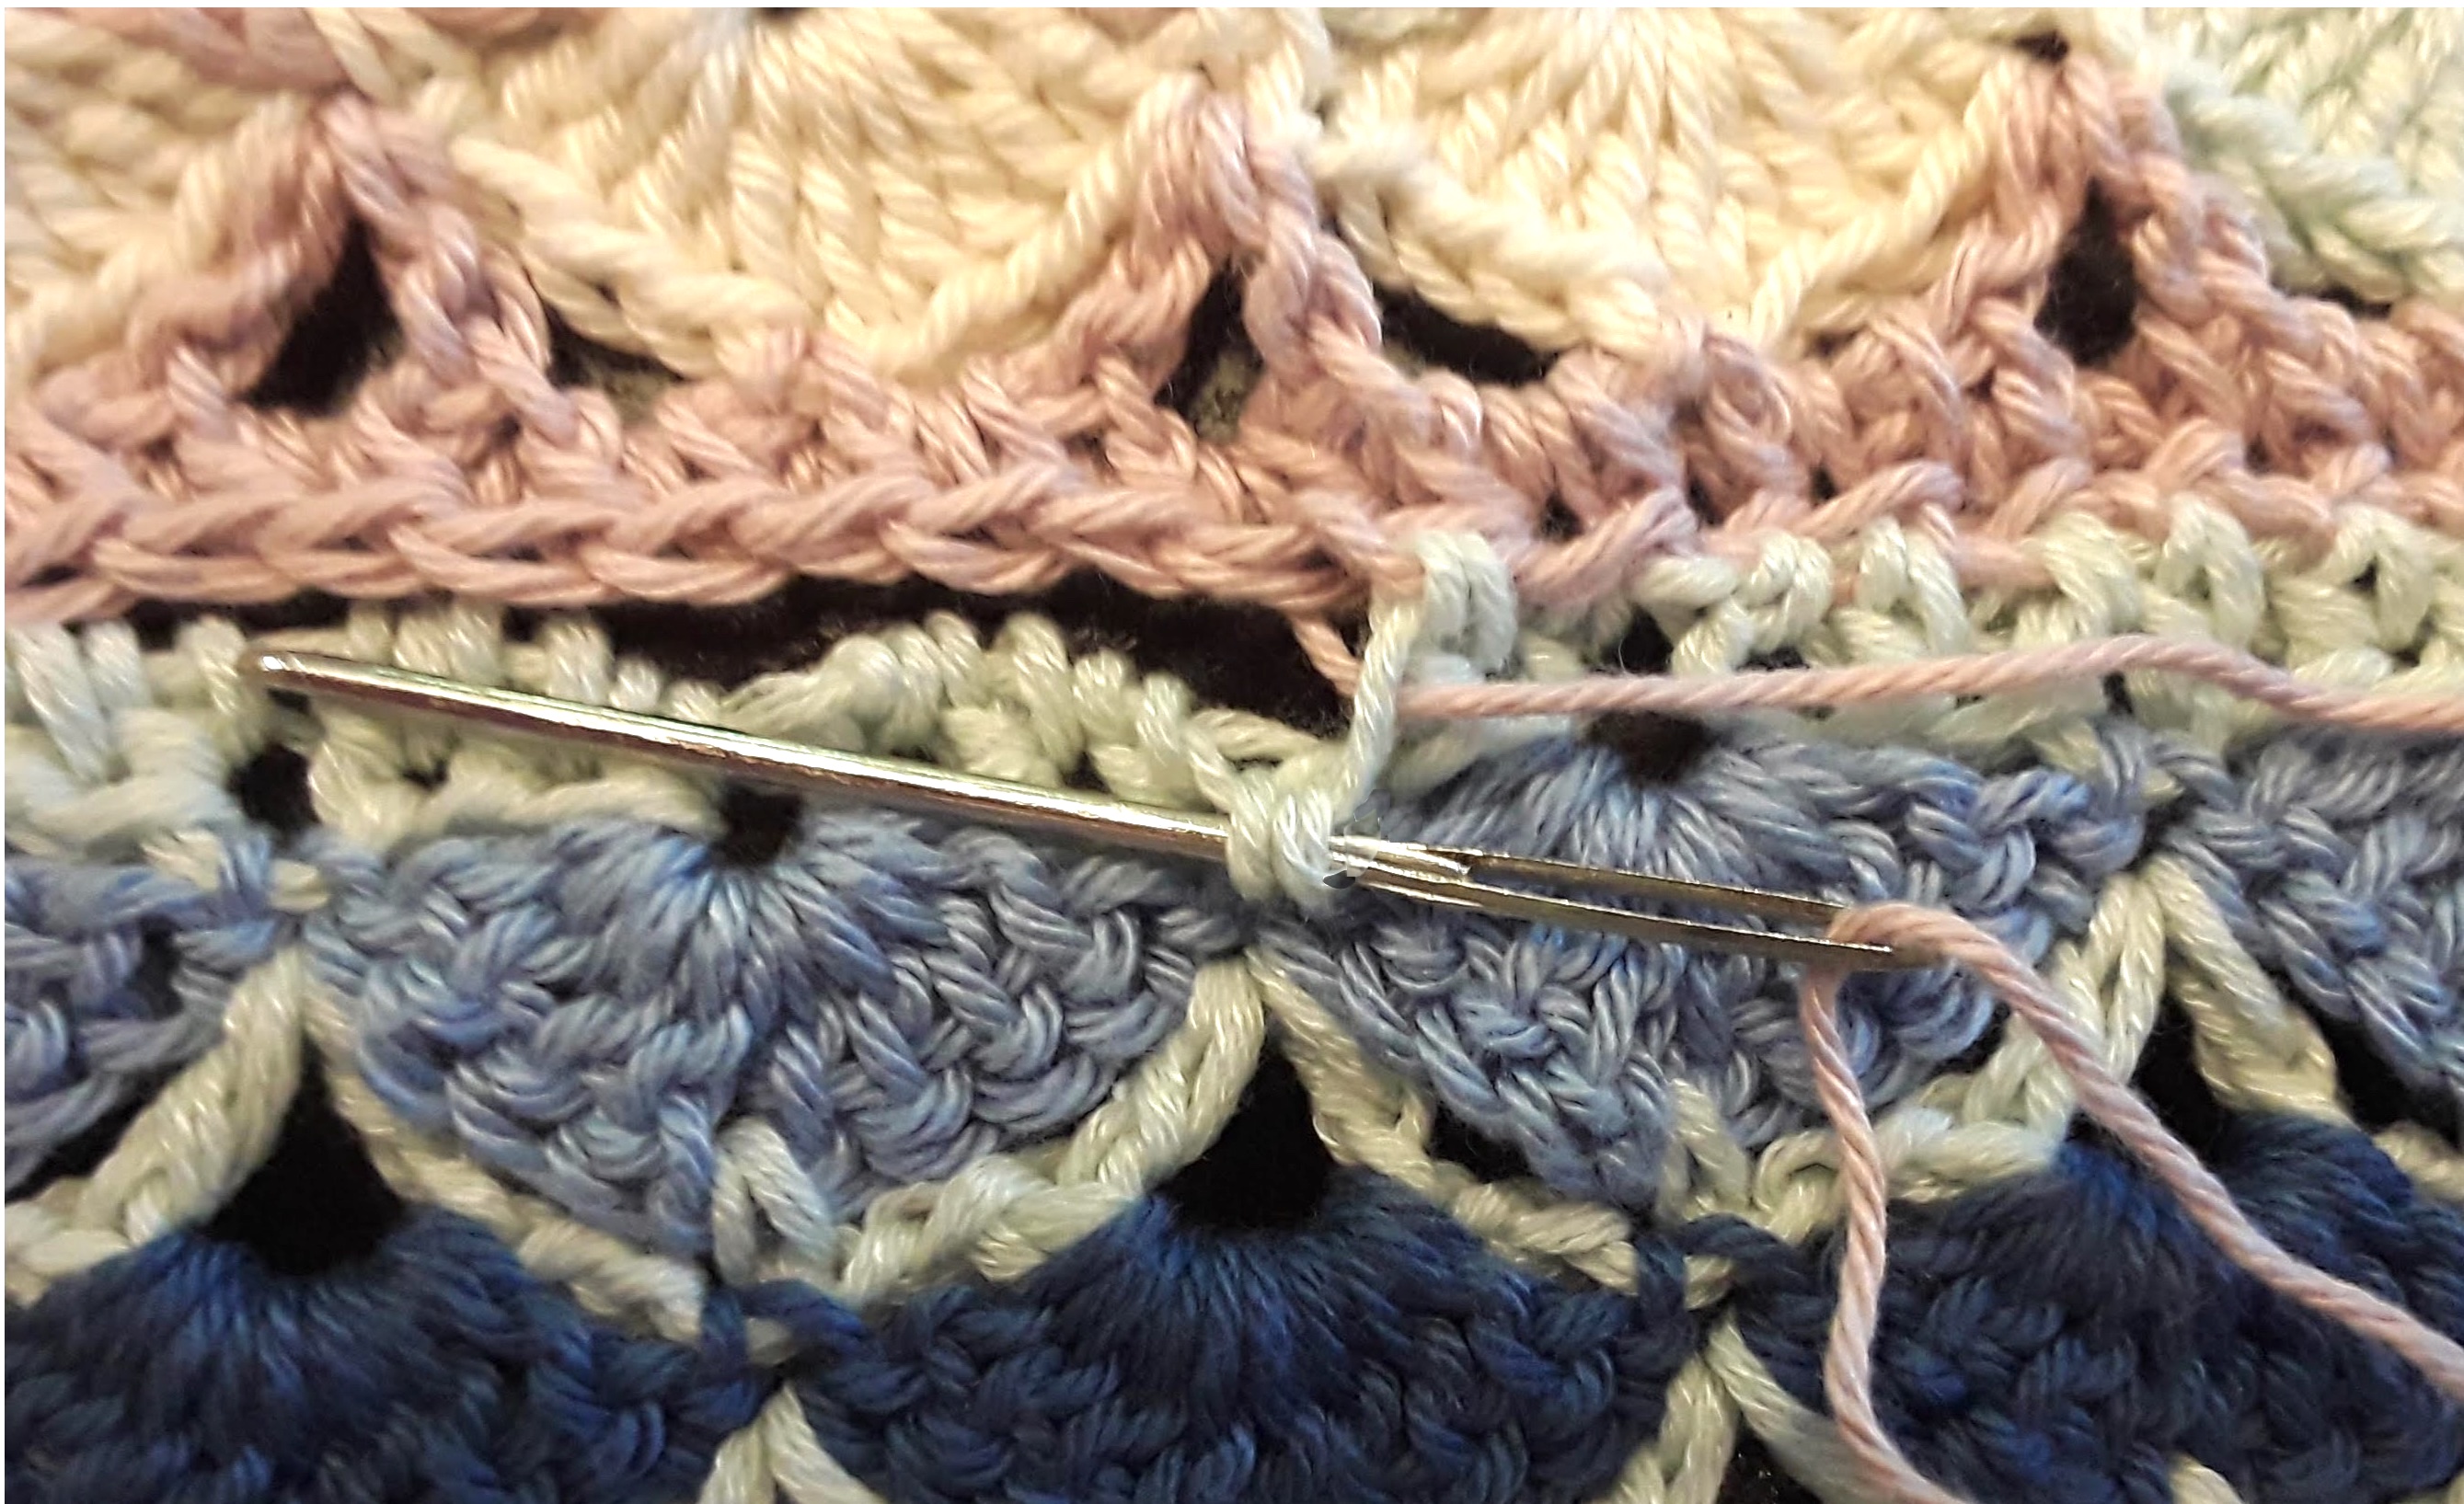
Work your yarn needle through the top of a stitch from the lower section and under the length of yarn threaded through the legs of the stitches just above the part you removed.
3. Pull through the legs of the nearest stitch.
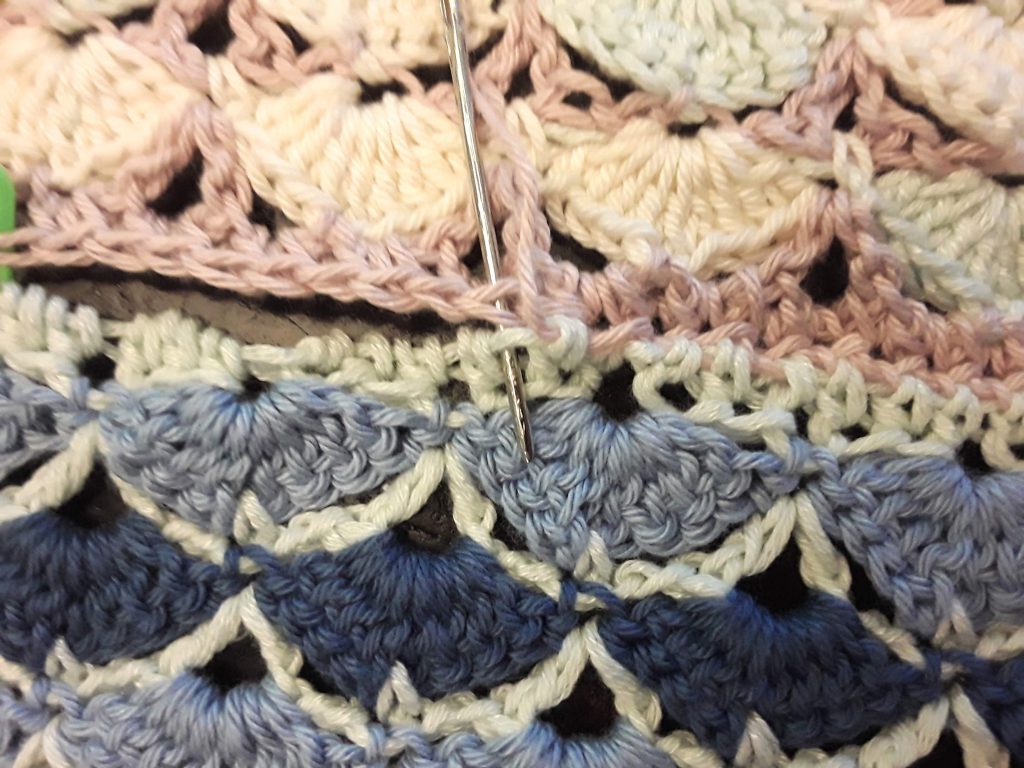
Turn your needle sideways to thread it through the legs of the upper stitch, and pull through. This step is easy to forget, since it kind of feels like you already got hold of the stitch you want in step 2. But it’s important to get yarn through the stitch itself. Not just because it’s a little more secure, but also (trust me on this) it’s gonna look weird if you don’t work through the actual stitch.
4. Then thread into the next stitch of the lower piece.
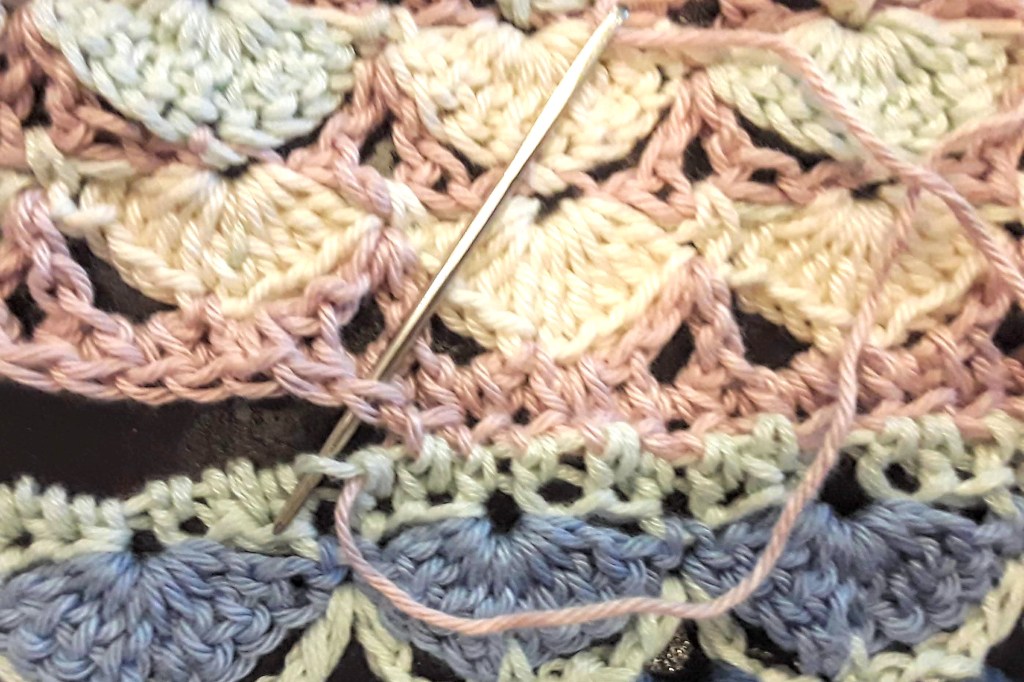
Reach back up with the needle, and work through the top of the next stitch (same as step 2 — just doing it again.)
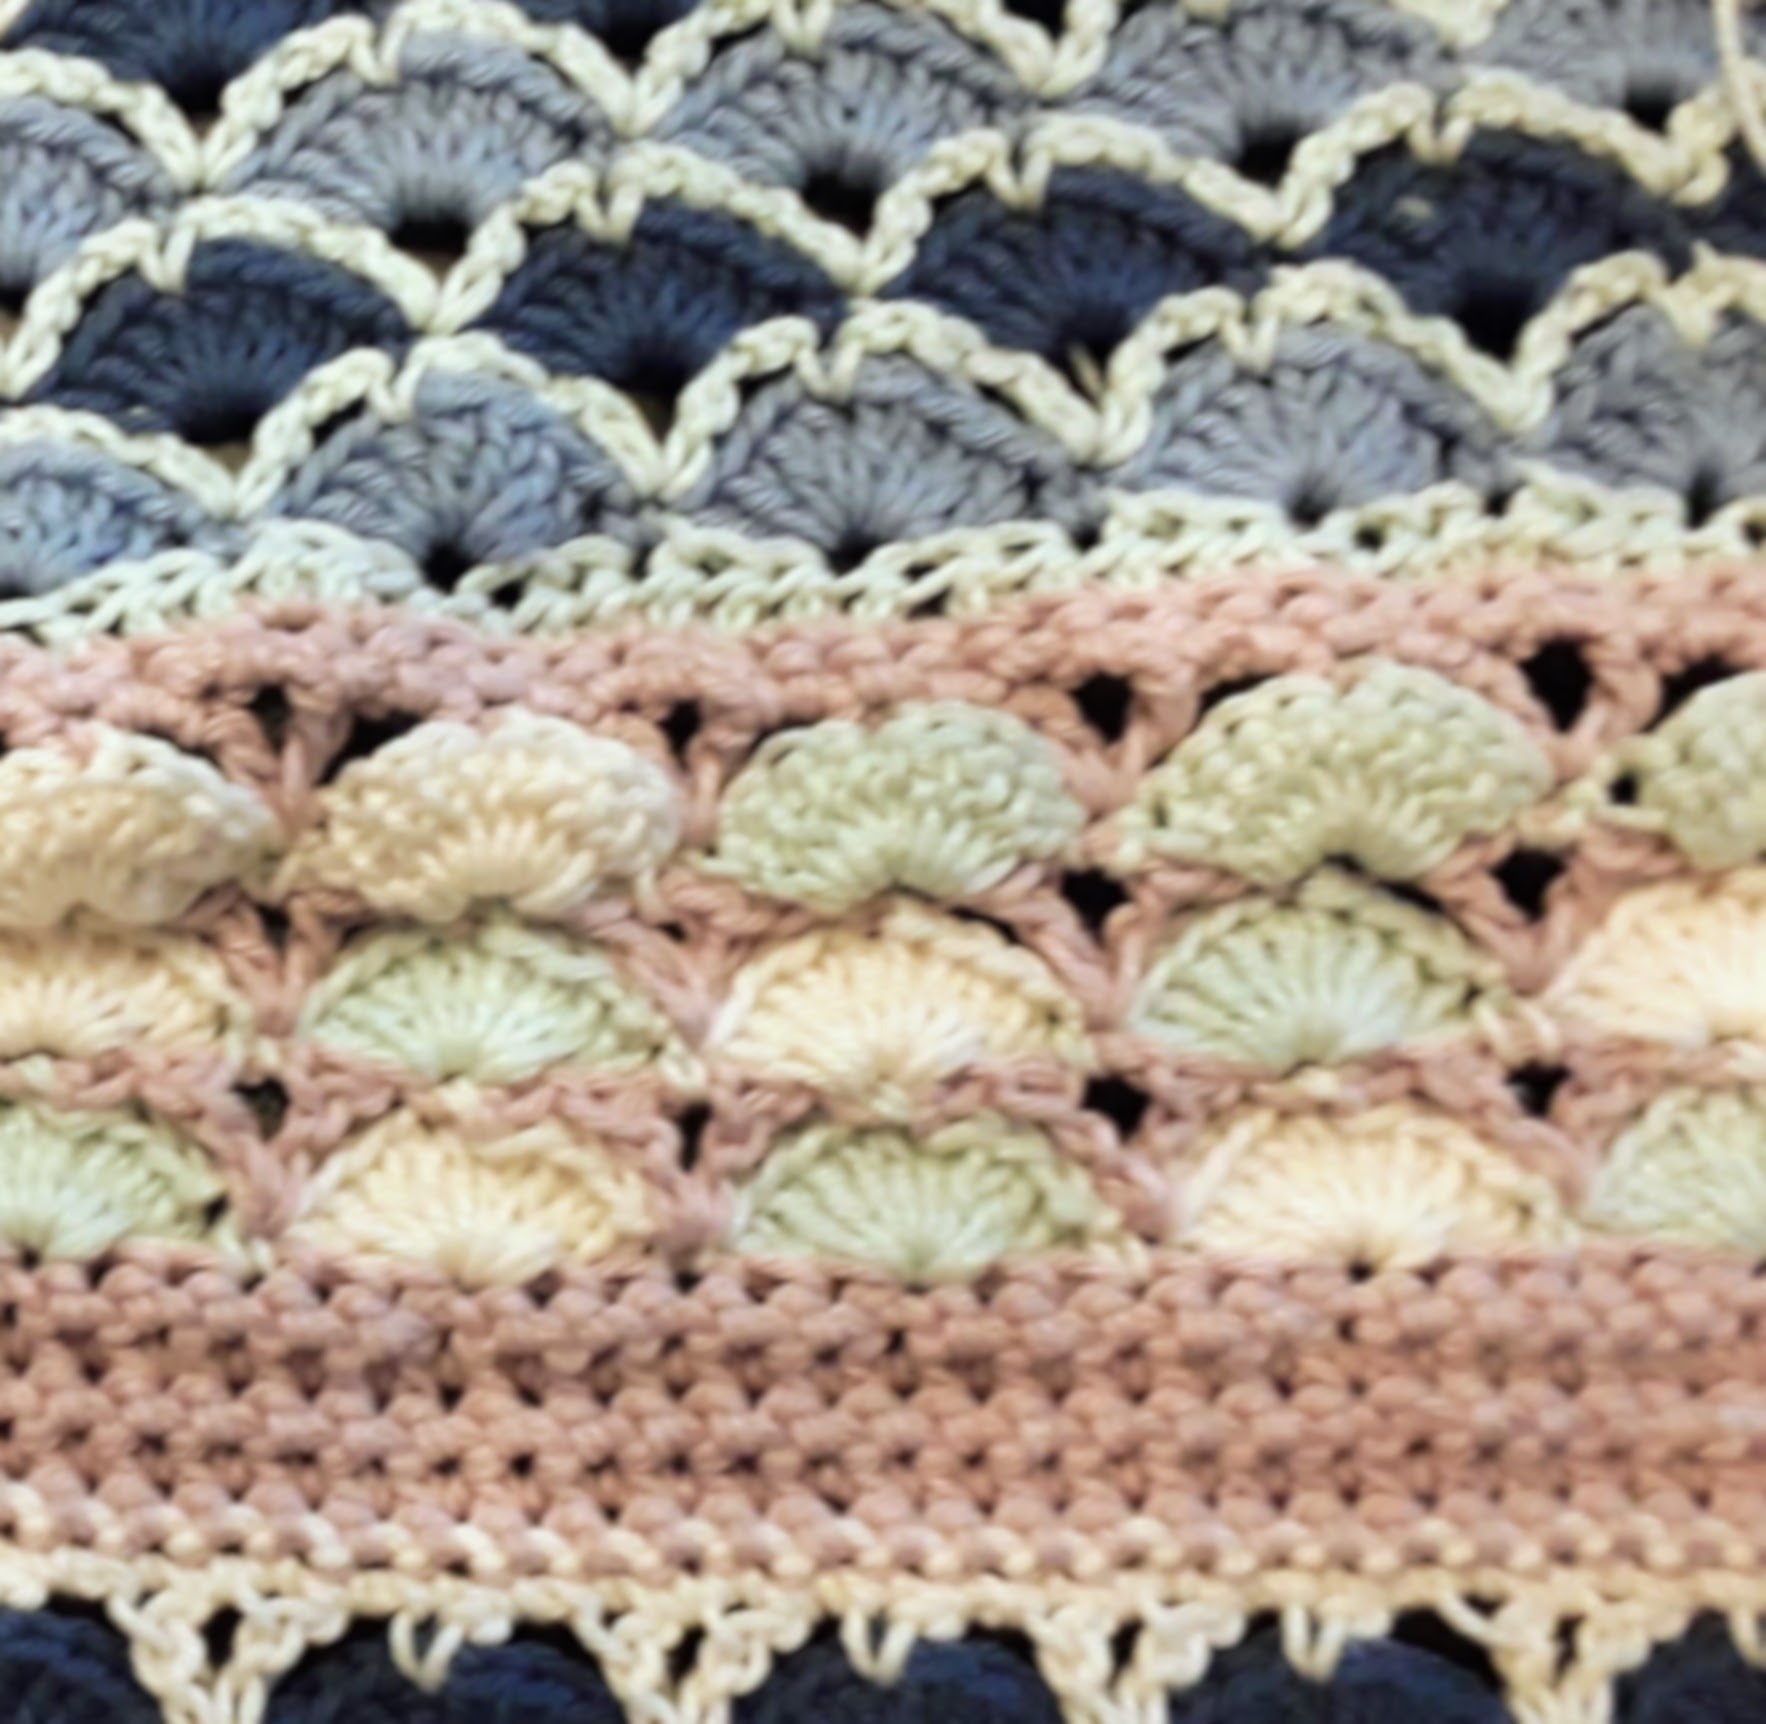
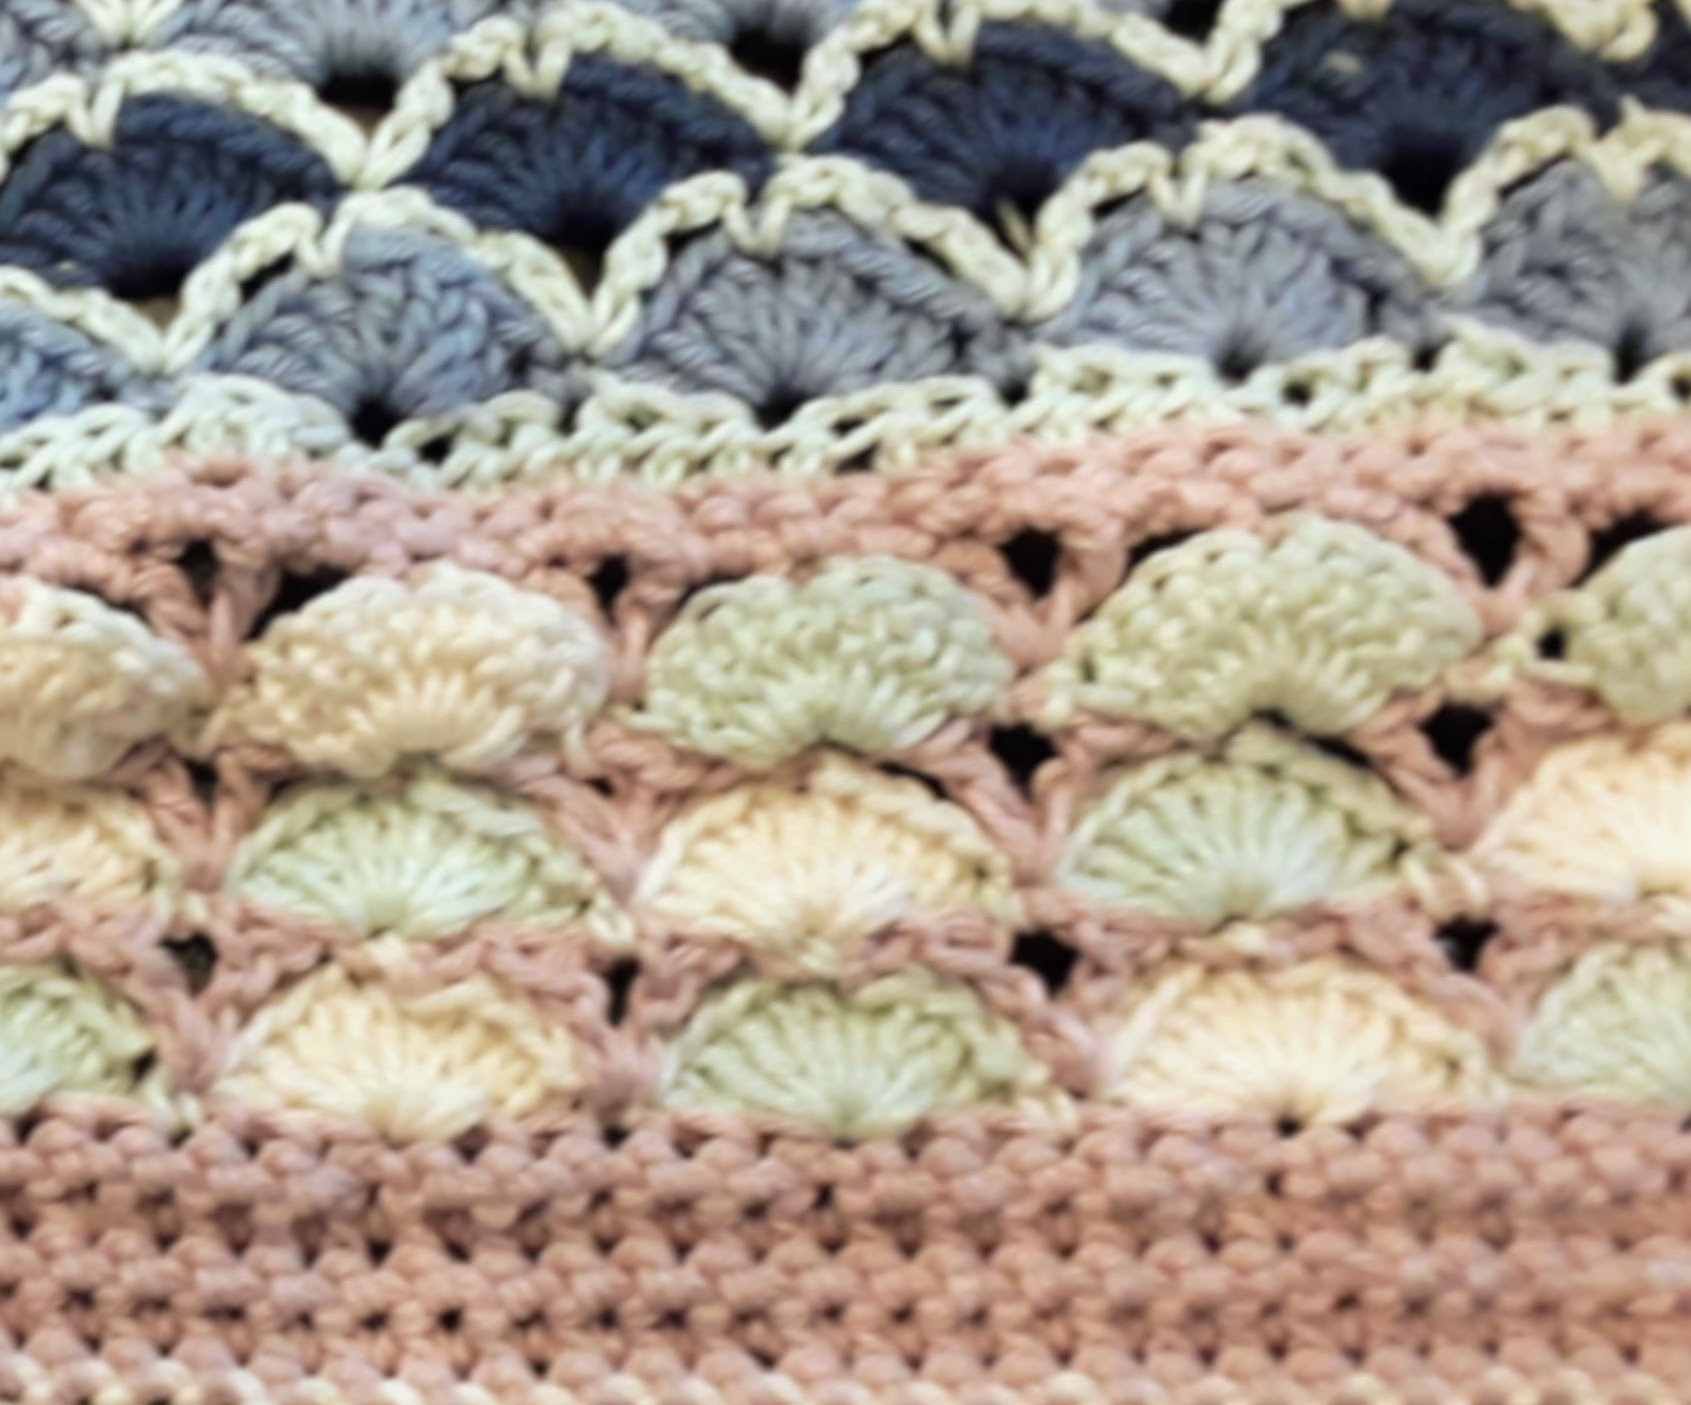
I have to say I’m pleased with the end result. It looks pretty natural.


At this point, you may be thinking “That’s a lot of work. Is it really worth it?” It is kind of a lot. If I didn’t just want to try it out anyway, it would for sure be too much for the small change I made. In general, it comes down to how much time and patience you have. And whether you’ve really gone too far that just normal frogging would be less work.


Leave a comment